
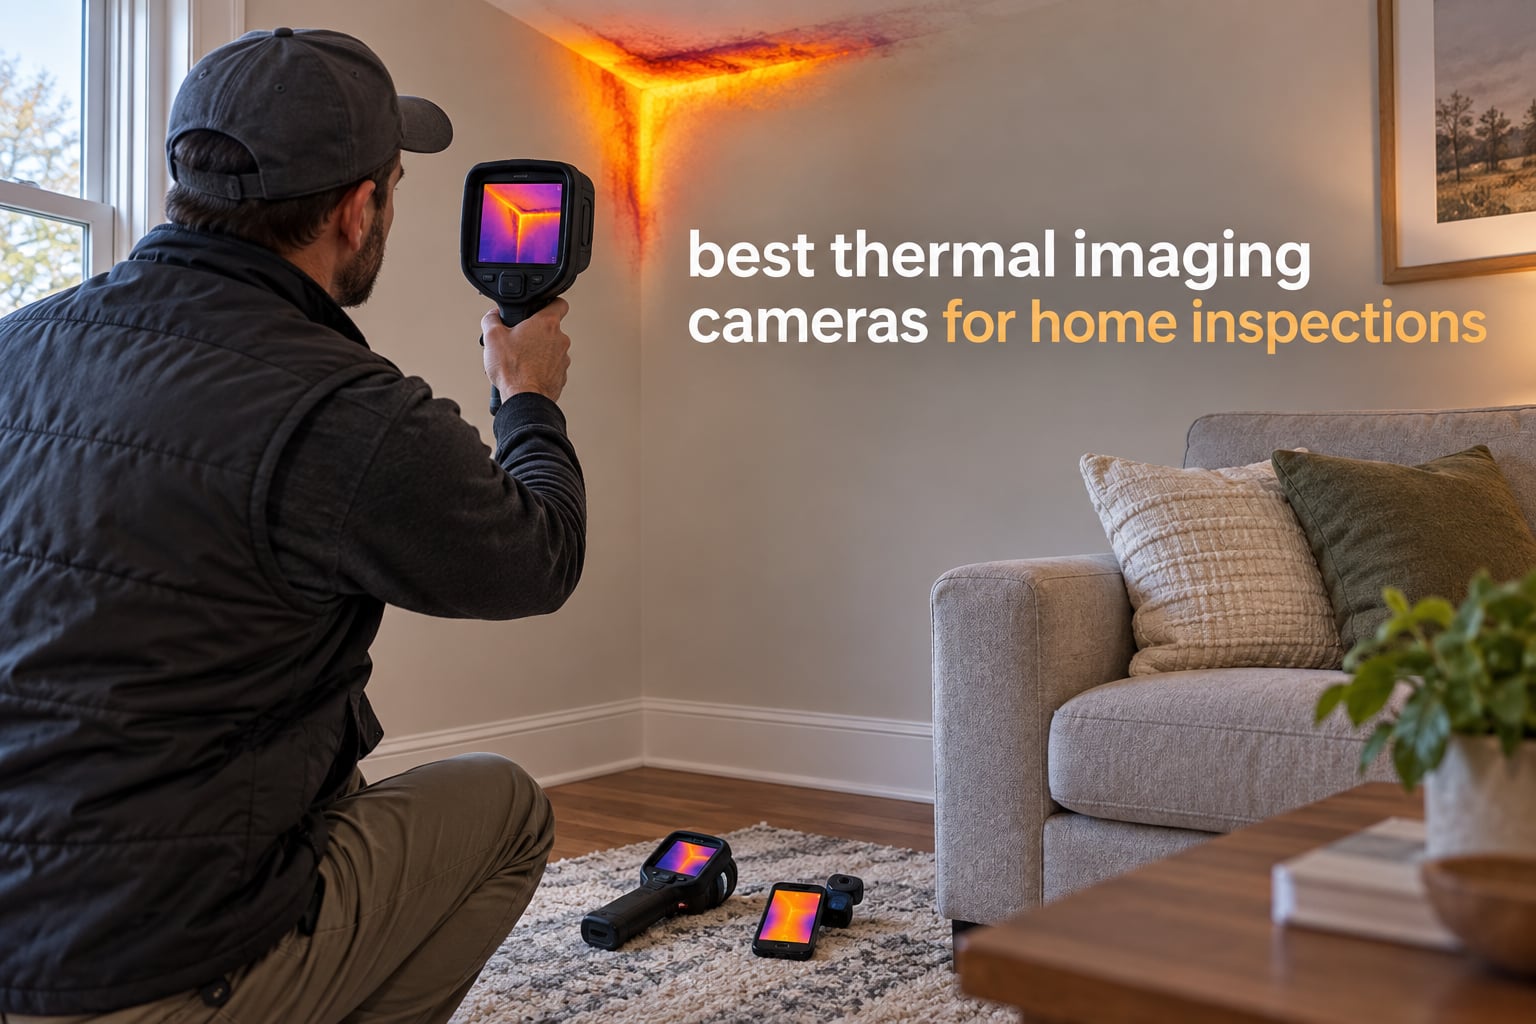
A pocket-sized standalone camera with a built-in screen and a small module that plugs into a smartphone charging port are the two forms of thermal camera on this list. The phone module is fast for a quick scan of a suspicious wall; the standalone unit is what you hand to a client when you need to explain the finding. Our best overall pick here is the FLIR One Android USB-C, which has more verified owner feedback behind it than anything else in this group, though it is an entry-tier detector and you should know where its limits are before you rely on it.
Before we get into the list, an honest note on how this roundup was built. We compared all ten cameras against each other on the specifications that actually decide whether a camera works on a residential inspection: true native detector resolution rather than upscaled output, thermal sensitivity, temperature range, battery endurance across a full day of scanning, ingress and drop protection, and how the imaging workflow behaves once you have forty findings to document. We did not run a controlled laboratory bake-off, and we say so up front rather than implying testing we did not do. Every rating and review count quoted below comes straight from the verified listing data, and every specification comes from the manufacturer listing rather than from a spec sheet we inferred.
The buyer split matters more than any spec on this page. Professional inspectors doing full-time residential work should start with a standalone camera in the middle of the list, because a built-in screen, onboard storage, and paired infrared and visible photos are what make the report defensible. DIY buyers and real-estate agents doing a pre-listing walkthrough get the most usable result from a smartphone attachment, since the phone is already in your hand and already has your client in front of you. Crawlspace and wet-condition work pushes you toward a higher ingress rating. Whatever you buy, read the section on what thermal imaging cannot tell you before you write it into a report.
If you are also building out a kit for other kinds of imaging work, our guides to the best DSLR cameras for beginners and the best home security cameras for indoors cover the visible-light side of a home walkthrough.
Table of Contents
Top 3 Picks for Home Inspections in 2026

FLIR One Android USB-C
- MSX detail enhancement
- Step-by-step inspection guide
- Plugs into USB-C Android

TOPDON TC001
- 256x192 native detector
- Fast refresh owners rate above pricier handhelds
- 9 measurement areas
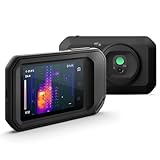
The FLIR One takes the top slot on evidence rather than on specification. At 3,735 verified reviews it has roughly two and a half times the owner feedback of the next most-reviewed camera here, it adds a built-in step-by-step inspection guide in the app, and MSX processing embeds visible detail into a low-resolution thermal frame so wall texture and stud lines stay readable.
The TOPDON TC001 is the specification winner in the attachment category and the reason budget buyers should look past the FLIR name. A genuine 256×192 native detector enhanced to 512×384 is more than ten times the pixel count of the FLIR One’s 80×60 core, and reviewers repeatedly benchmark its readings against a probe baseline.
The FLIR C5 is the professional pick. Its 3.5 inch screen, waterproof construction, automatic paired infrared and visible capture, and FLIR Ignite cloud reporting form the tightest report workflow in this group, and it is the only one that ships with cloud report generation in the standard package.
Best Thermal Imaging Cameras for Home Inspections (October 2026)
| Product | Specifications | Action |
|---|---|---|
| FLIR One Android USB-C |
|
Check Latest Price |
| TOPDON TC001 |
|
Check Latest Price |
| FLIR C5 Compact |
|
Check Latest Price |
 TOPDON TC004 TOPDON TC004 |
|
Check Latest Price |
 FLIR TG165-X FLIR TG165-X |
|
Check Latest Price |
 AMPBANK H128 AMPBANK H128 |
|
Check Latest Price |
 MiLESEEY TR10 MiLESEEY TR10 |
|
Check Latest Price |
 Thermal Master Thor002 Thermal Master Thor002 |
|
Check Latest Price |
 HSFTOOLS F2W HSFTOOLS F2W |
|
Check Latest Price |
 Flagfront 240×240 Flagfront 240×240 |
|
Check Latest Price |
1. FLIR One Android USB-C – the Most Proven Phone Attachment
Flir One Thermal Imaging Camera for Android USB-C, 240×180 MSX
80x60 native upscaled to 240x180
MSX enhancement
34g
1 hour average use
Pros
- Most owner feedback of any camera here
- MSX makes a tiny detector readable
- Built-in step-by-step inspection guide
- Drop-rated from 1.5 meters
- No separate battery to charge
Cons
- Lowest native detector resolution in the group
- Average battery life listed at 1 hour
- USB-C plug depth blocked by thick cases
- Not water resistant
The FLIR One is the camera I hand to someone who wants to understand thermal imaging this weekend rather than this quarter. It plugs into the charging port of a USB-C Android phone, opens the app, and you are scanning within about a minute. There is no battery to charge because the phone powers it, and there is no separate screen to carry.
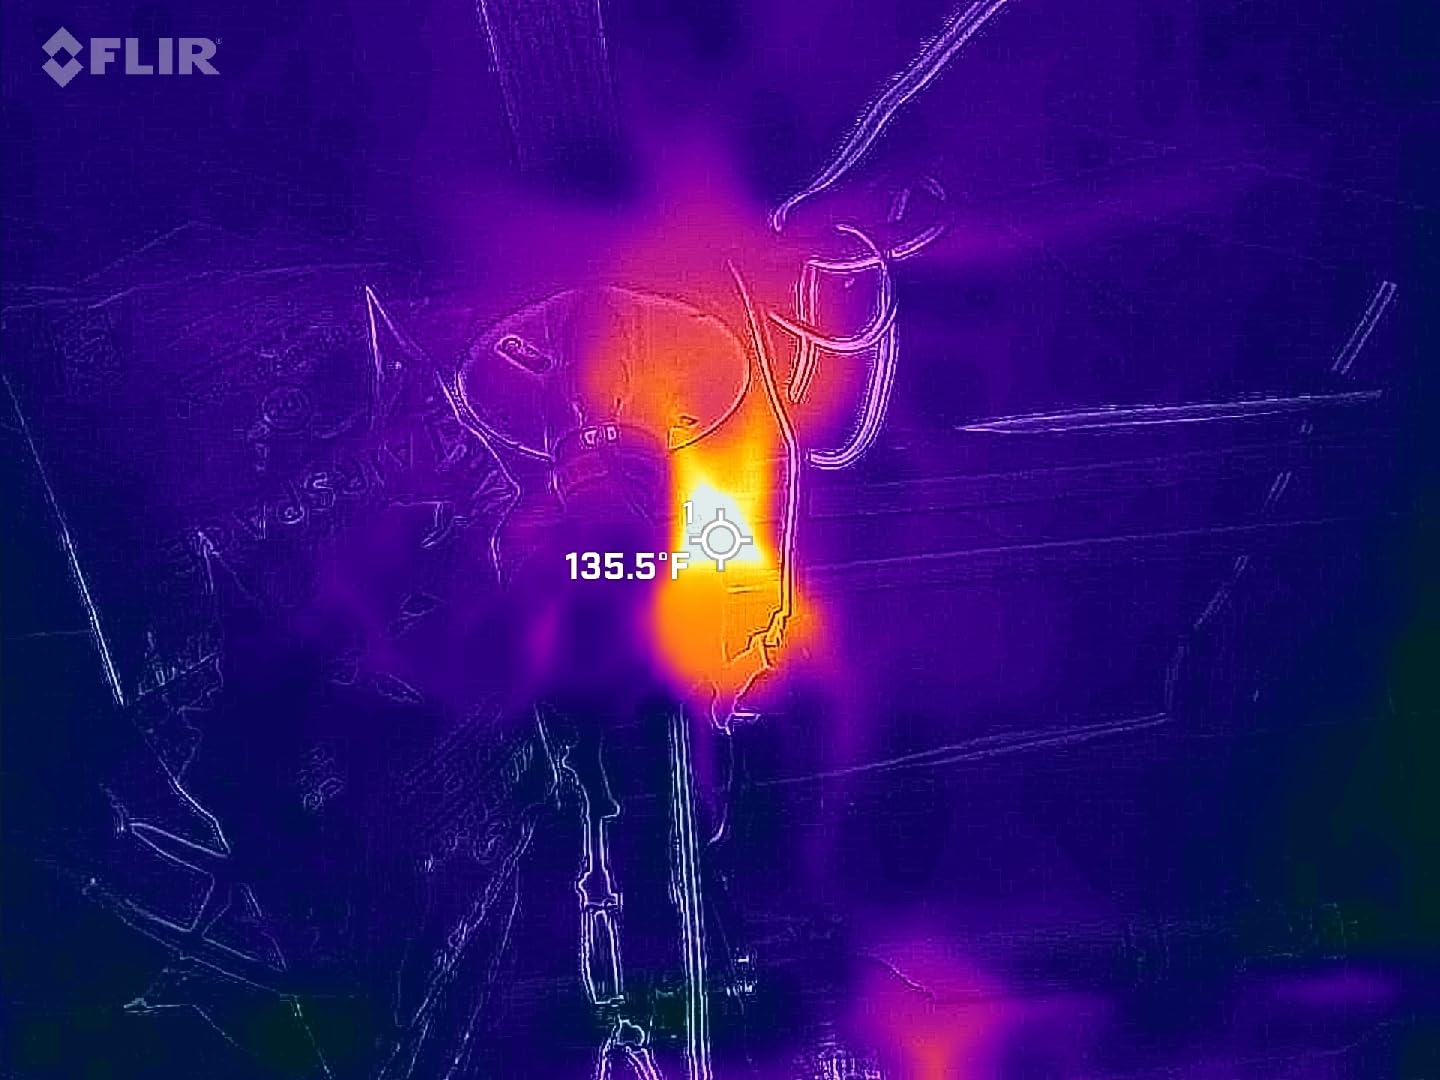
The interesting engineering is MSX. FLIR blends the thermal frame with a visible-light frame from the phone camera in real time, embossing edges onto the thermal image. On a raw 80×60 sensor that produces a blurry colored blob; with MSX you can count the studs, see the rim joist line, and read window frames. That is the whole reason this camera has more owner feedback than anything else on this list.
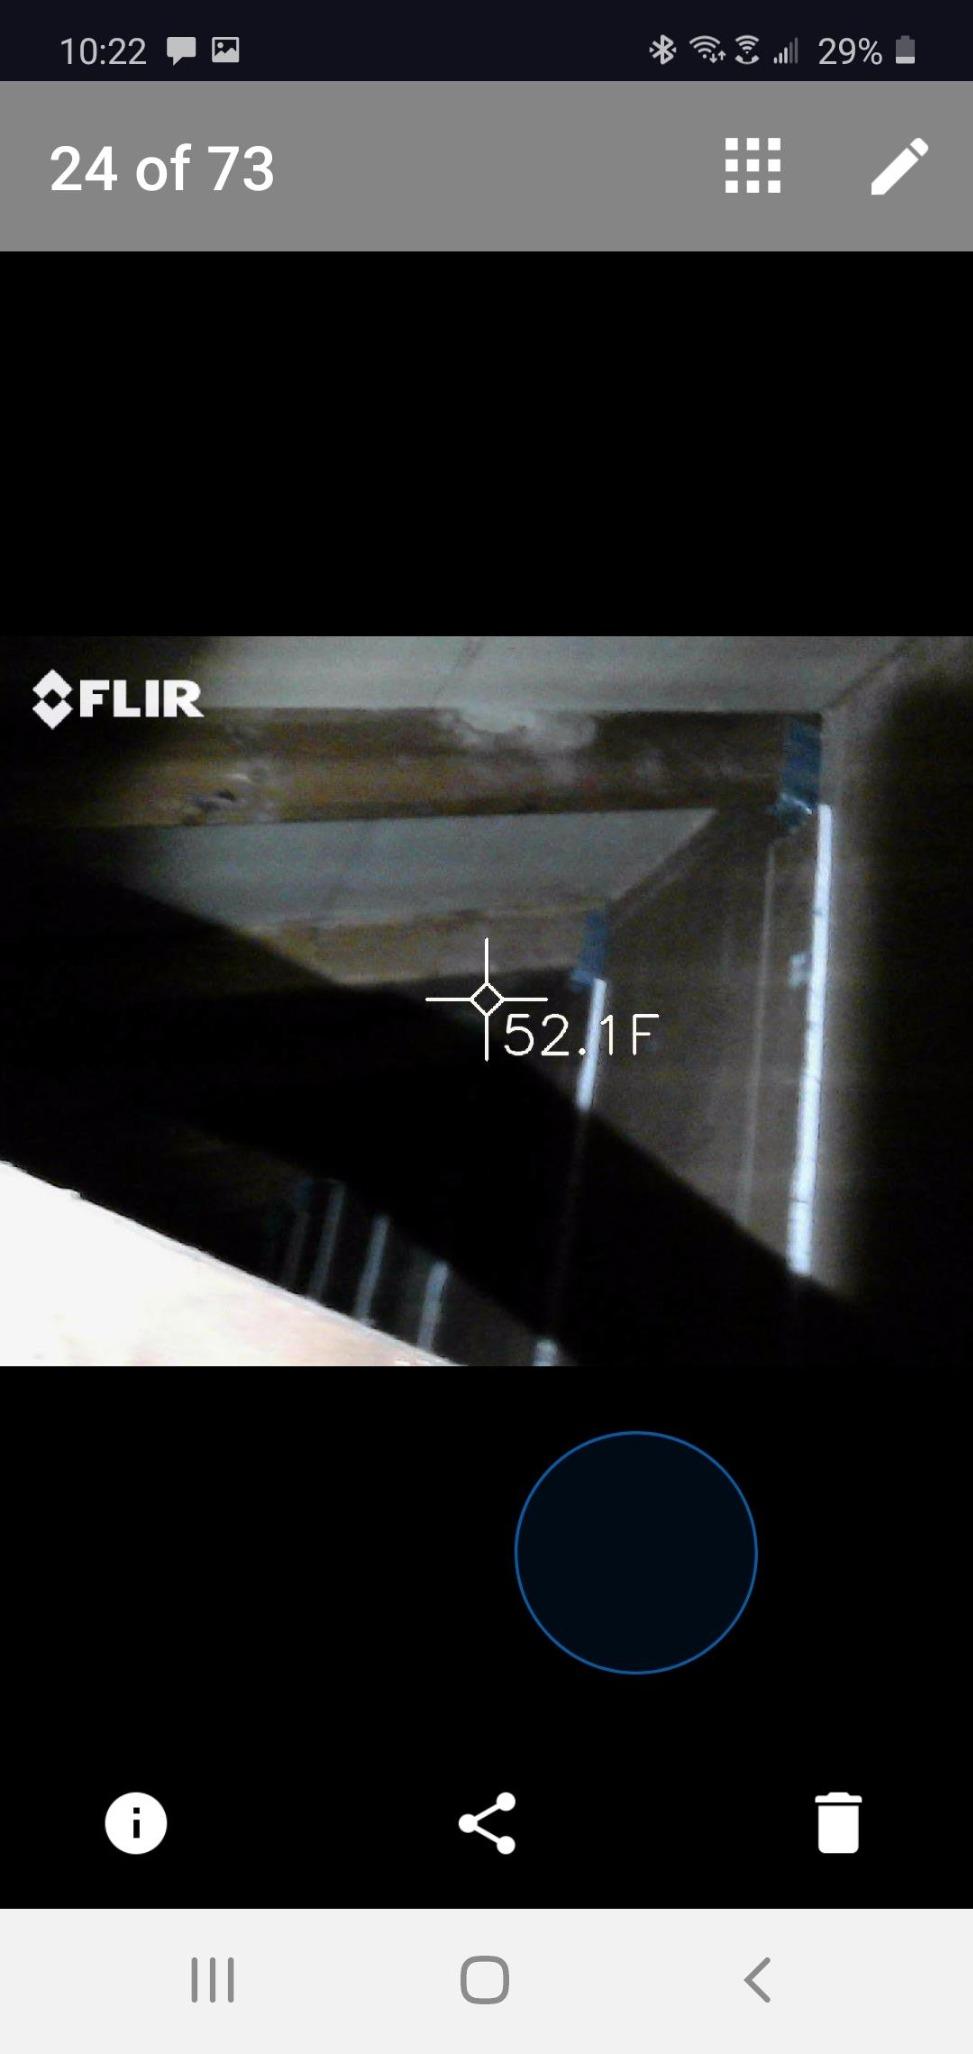
The app also ships with a step-by-step inspection guide covering typical home faults, which matters more than it sounds. New users consistently misread their first scan because nobody told them to look for temperature differences rather than for a specific color. The guided scan walks you through where anomalies actually appear.
Accuracy is specified at plus or minus 3C or plus or minus 5 percent at 15-35C ambient and 5-120C scene, which is workable for envelope and air-leakage work but not for certifying a temperature. Ratings reflect a long history: 59 percent five-star and 11 percent one-star across 3,735 reviews.
What this camera is good for on site
It is the fastest way to confirm or kill a suspicion during a walkthrough. You see a staining pattern on drywall, plug in the module, and get an answer in seconds without opening a wall or digging out a pin meter. The 1.5 meter drop rating means it survives the crawlspace and attic trips that ruin phone-dependent gear.
Reviewers use it for air leaks at penetrations, moisture-related cooling, and insulation defects, and the guided scan mode makes it a genuinely teachable tool. For an inspector training a new apprentice, the low resolution is a feature: it forces the conversation toward temperature differences.
Where it will disappoint you
The native detector is 80×60 pixels, and the 240×180 figure in the listing is upscaled output. That grid cannot resolve a subtle anomaly across a large sunlit exterior wall from any real distance. It also cannot distinguish one framing member from the next on its own; MSX is doing the heavy lifting there.
The listed average battery life of 1 hour reflects phone battery drain during active scanning, and a thick case can physically block the plug depth. This is an Android USB-C unit, so it will not work with an iPhone port at all.
2. TOPDON TC001 – the Best 256×192 Sensor You Can Plug Into a Phone
TOPDON TC001 Thermal Imaging Camera for Android, 512×384 High Resolution
256x192 native TISR to 512x384
30g
Phone powered
-20C to 550C
Pros
- Genuine 256x192 native detector
- Fast refresh owners rate above pricier handhelds
- No internal battery to swell or fail
- Auto-locates hottest and coldest points
- Images save without a watermark
Cons
- App resets settings when the phone rotates
- Fixed USB-C stem needs an adapter for thick cases
- Corner vignette can skew readings
- Some overlay parallax between lenses
The TC001 is the recommendation I make when someone tells me the FLIR One looked blurry on their wall. Its detector is genuinely 256×192, which is over ten times the pixel count of the FLIR One core, and TOPDON’s TISR processing takes it to 512×384 for display. That is the resolution tier most inspectors think of as the entry standard, and it shows in the images.
It draws 0.35W from the phone and runs 4 to 7 hours on a 3000-5000mAh battery, so a long inspection day is realistic. Owners also like that it has no internal cell, which removes a failure mode that eventually affects every phone-style device with a built-in battery.
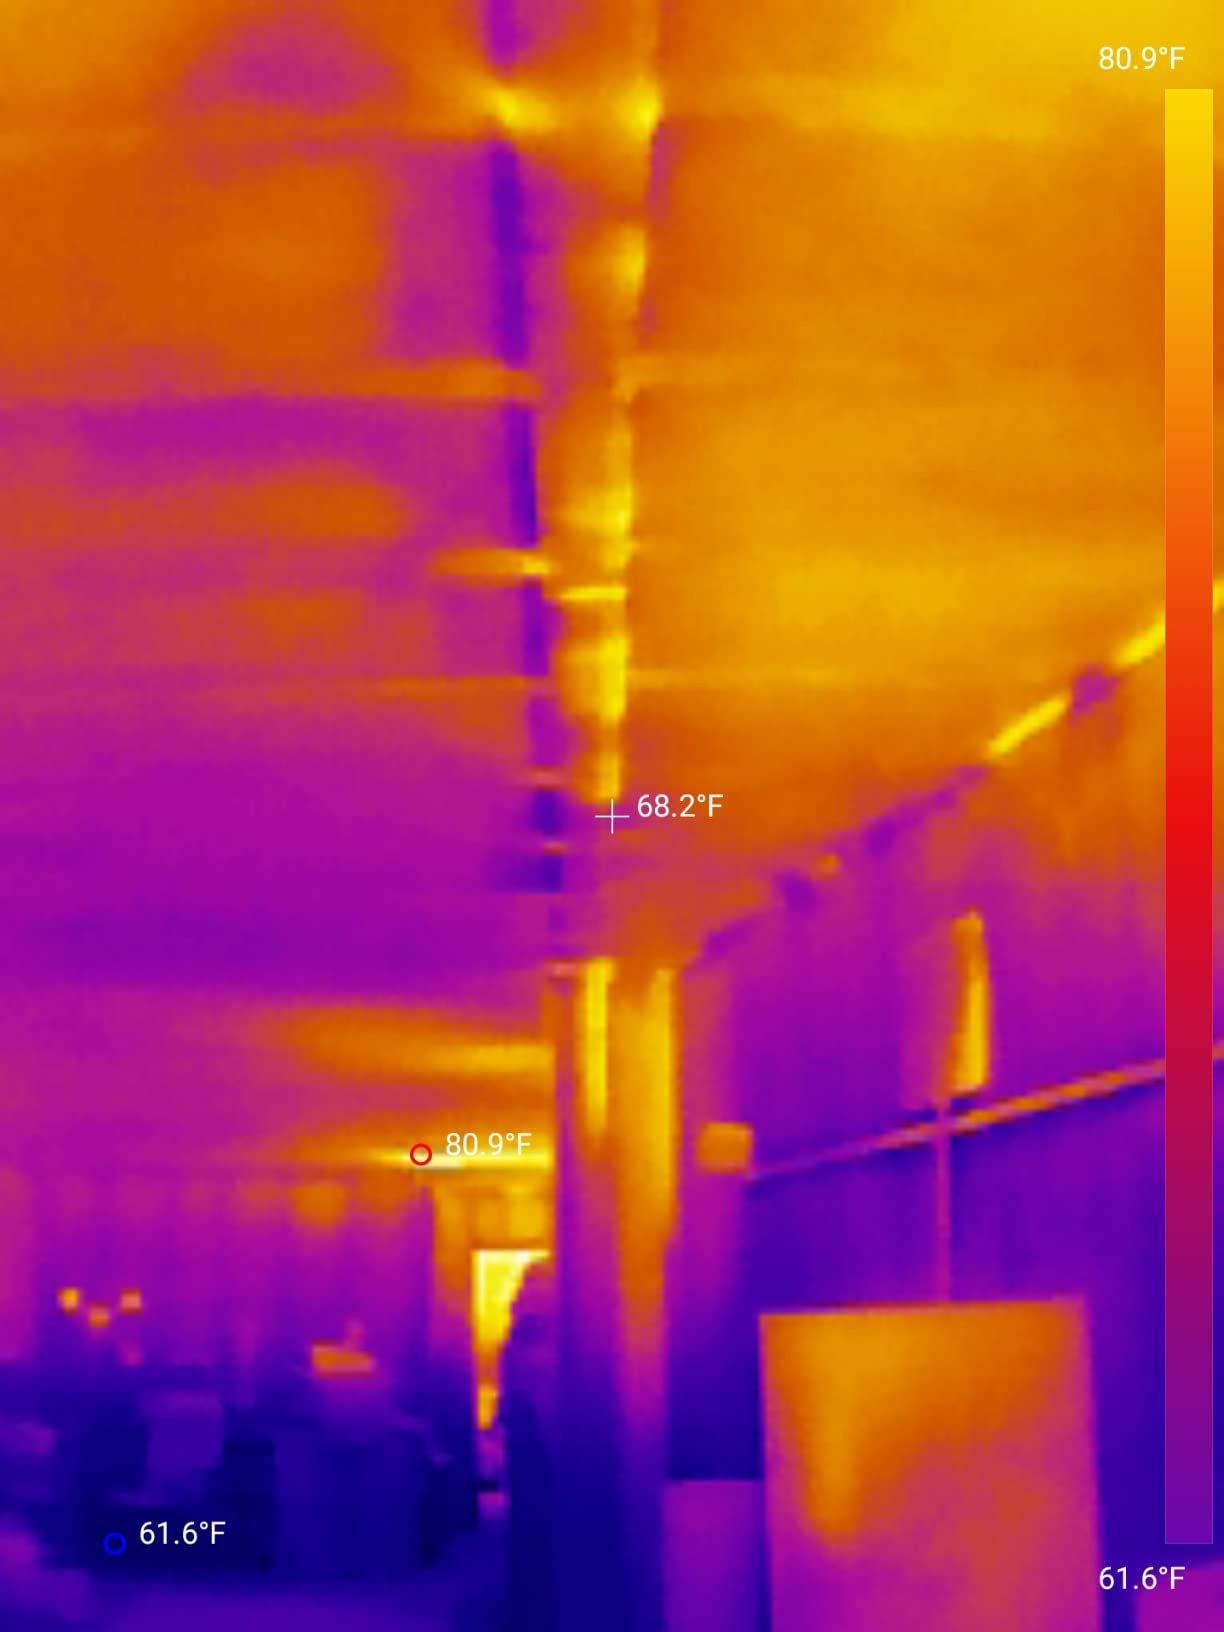
Measurement capability is where it outclasses the FLIR One. Point, Line and Surface detection give you up to 9 measurement areas live at once, with each region showing its own hot and cold values. The range runs from -4F to 1022F with accuracy within 3.6F or 2 percent of actual, at 0.1C resolution. Nine color palettes and image fusion with the phone camera handle documentation.
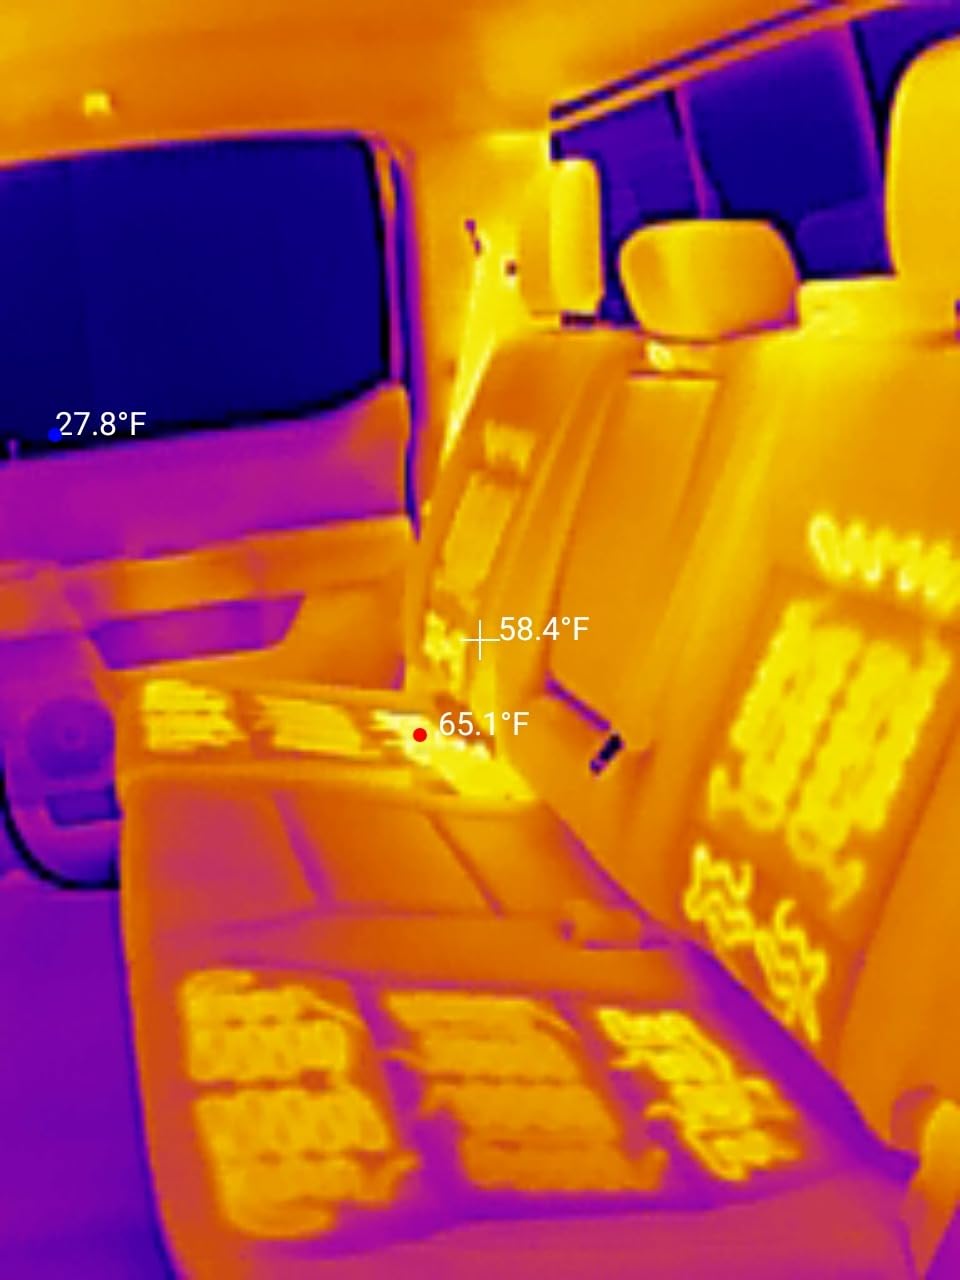
Reviewers report readings close to a probe baseline, and describe locating missing insulation, uninsulated attic hatches, and older wood windows in real houses. 79 percent of 1,491 reviews are five-star, which puts it close to the top of the star distribution across the most-reviewed cameras here.
What this camera is good for on site
Spot and line measurement on a wall or an attic hatch is where the 9-area capability pays off immediately. You can park the hottest and coldest points and watch the delta as you bring the phone closer or step back, which is the fastest way to separate a real air leak from a thermal bridge.
Reviewers who previously owned higher-tier gear report the refresh rate feels faster than units costing several times as much. On an inspection where you are walking and scanning continuously, that smoothness changes how much of the building you actually cover.
Where it will disappoint you
The app resets measurement settings to defaults when you rotate the phone or background the app, so any emissivity correction you set carefully is gone after one turn. The fixed-length USB-C stem will not clear a thick case without the included adapter, and corner vignette can skew readings at low thermal variance.
Overlay fusion between the phone camera and the IR sensor shows parallax, so the visible edge does not perfectly line up with the thermal edge at close range. It also requires an OTG-capable Android device and is listed as not compatible with iPhone 15.
3. FLIR C5 Compact – the Professional Pick with Cloud Reporting
Flir C5 Compact Thermal Imaging Camera, WiFi, 160×120 MSX, Ignite
160x120 native 19200 pixels
3.5 inch display
190g
WiFi to Ignite
Pros
- Pairs infrared and visible photos automatically
- Ignite cloud builds and emails client reports
- Waterproof construction with a protective pouch
- Bright 3.5 inch screen in a pocketable body
- 2 year warranty plus 10 years on the detector
Cons
- Roughly 50 second startup time
- WiFi sync and Ignite setup can be unreliable
- 160x120 native sits below the 256x192 detector used by most of the standalones here
- Battery is not user-replaceable
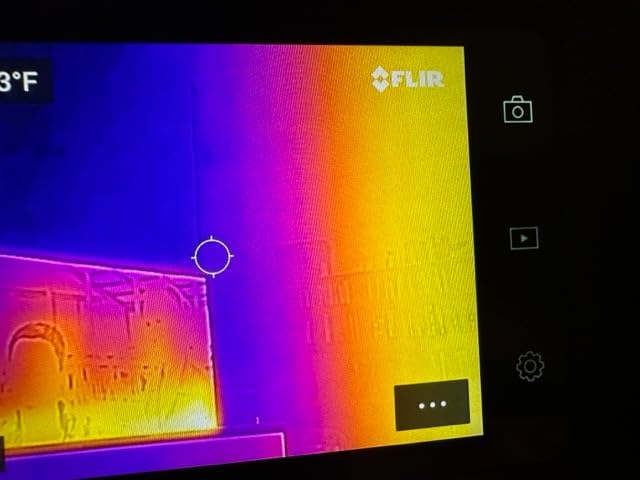
The C5 is the camera in this roundup built around the report rather than the scan. It pairs an infrared image with a conventional photo automatically, uploads both to FLIR Ignite, and turns them into a professional report you can send from a driveway. General contractors describe using it exactly that way, to trace wall temperature differentials, find wet spots, confirm duct or vent airflow, and locate overheated circuit components.
Form factor is the other argument. At 190g and 0.94 by 5.4 by 3.3 inches it goes in a jacket pocket, yet it carries a bright 3.5 inch screen and waterproof construction. Two years of parts and labor plus 10 years on the detector matches the longest coverage in this group.
The recurring gripes in reviews are not about image quality. They are about startup latency of roughly 50 seconds, which interrupts a rapid walk-and-scan rhythm, and about WiFi and Ignite sync reliability. Setup also requires granting FLIR full photo access, which some users find intrusive.
160×120 native is 19,200 pixels, and it sits below the 256×192 entry standard we recommend in the buying guide below. Owners report streaky or pixelated output after extended use. The battery is sealed in, so a dead pack ends the working life of an otherwise fine camera.
What this camera is good for on site
Client communication. This is the camera to hand over the moment you find something, because the client can see the anomaly and the room in the same frame instead of squinting at an abstract color blob. Having the paired visible photo also removes guesswork later when you write the finding up.
Its 160×120 grid with MSX is genuinely useful at close range, inside wall cavities, around electrical panels, and at HVAC penetrations. It is at its weakest on large sunlit exterior walls where a low pixel count has to cover a wide area.
Where it will disappoint you
Fifty seconds from power on to scanning is a long time when you are standing in a cold attic on a schedule. The Ignite workflow, while valuable, is also the most complex reporting setup in this roundup and the one most likely to cause friction with a client who just wants a text message.
Reviewers also report a case where a firmware update bricked a unit and warranty support declined the claim. That is a single report, but it is worth knowing that sealed batteries and firmware-dependent features carry risks that a simple camera does not.
4. TOPDON TC004 – the Best Standalone for DIY Buyers
TOPDON TC004 3.5″ Thermal Imaging Camera, -4°F~1022°F Temp Range
256x192 native TISR to 512x384
3.5 inch display
2.11 pounds
64GB storage
Pros
- Oversized screen for an entry handheld
- 64GB storage survives without a cable
- Built-in laser pointer ties readings to a target
- IP54 sealing and 2-meter drop resistance
- Integrated LED work light
Cons
- Laser pointer adds a step to measurement
- Thermal-only with no visible-light sensor for fusion
- Touchscreen menus are awkward with gloves on
The TC004 is the standalone camera I suggest to homeowners and to anyone who wants one device that does everything without a phone in the loop. It has the same 256×192 native detector as the TC001, enhanced to 512×384 by TISR, but it lives in its own body with its own screen and its own storage.
That independence is the point. You scan a bedroom ceiling in an empty house with no signal, no battery anxiety, and no app requirement. Integrated Wi-Fi transfers to the TopInfrared app when you want to build a record, and 64GB of onboard storage means the work files survive without a cable.
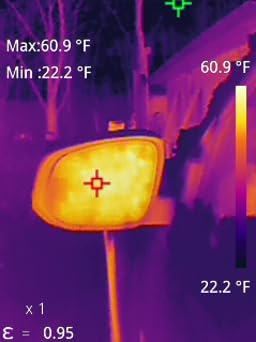
Buyers consistently single out the 3.5 inch screen for scanning whole walls at a glance, which is a real difference from a phone module where the image sits in a narrow strip. The red laser pointer marks the measurement area on the actual surface, and an integrated LED light covers dark or confined spaces.
Protection is unusually good for the tier: IP54 dust and splash protection with 2-meter drop resistance. The range runs from -4F to 1022F. Eighty percent of 860 reviews are five-star, and buyers describe it as a common first entry handheld.
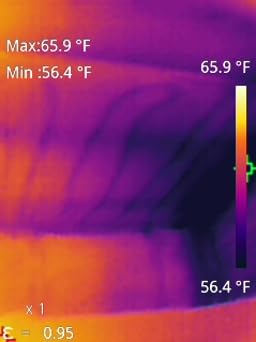
What this camera is good for on site
Whole-wall and whole-ceiling sweeps, especially in pre-listing walkthroughs where you want to show a seller three problems in five minutes. The large screen makes it easy to keep the view square to the surface and to walk the anomaly line without stopping to pinch and zoom on a phone.
It also works as a documentation tool for a do-it-yourself buyer. Sixty-four gigabytes of storage plus Wi-Fi transfer means you can save every anomaly you find on inspection day and still have them weeks later when you decide what to negotiate on.
Where it will disappoint you
This is a thermal-only model, so there is no visible-light sensor to fuse with. Your report images are color-mapped thermal frames with no photo of the room, which is exactly the thing the FLIR C5 does well and clients appreciate.
The touchscreen menus are reported as awkward with gloves on, which matters in an attic in February. The laser pointer also adds a step to measurement compared with spot-only units, and some reviewers find it more trouble than it is worth on interior work.
5. FLIR TG165-X – the Best Spot Thermometer for HVAC and Electrical Work
Flir TG165-X Thermal Imaging Camera with Bullseye Laser, Spot IR
4800 pixel IR detector
-25C to 300C
Bullseye laser
IP54 drop-tested
Pros
- Bullseye laser shows the exact spot being measured
- MSX makes a small detector readable
- Under 14 ounces with IP54 sealing
- USB-C rechargeable with no disposable batteries
- 2 plus 10 year warranty matches the longest coverage in this group
Cons
- 572F ceiling is the lowest of the FLIR models listed
- Small detector shows fewer identifiable details
- No wireless transfer or cloud reporting
- 3 second response time is slow
The TG165-X sits between a thermometer and an imager, and that is a deliberate choice. It is not trying to map a wall. It is built to answer one question fast: what is the temperature at this exact point, and is the laser pointer aimed at the right thing?
That makes it the one I reach for at an electrical panel, a supply register, a return vent, or a hydronic loop. The Bullseye laser pointer marks the size of the measurement area, which removes the single most common error in spot temperature work: measuring the air in front of a surface instead of the surface.
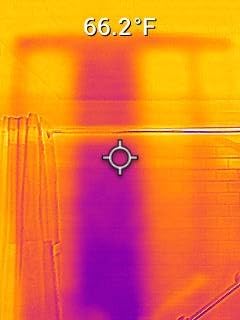
The detector is 4,800 pixels, tied for the smallest true count in this roundup, and MSX is doing all the visual work. Buyers treat it as the value entry into the FLIR line and rely on the laser plus MSX to compensate. The range is -25C to 300C, which covers envelope and domestic mechanical work but not extreme overheat diagnosis.
At under 14 ounces with an IP54 drop-tested plastic enclosure, it is easy to carry all day and sealed against dirt, dust and oil. USB-C rechargeable means no disposable battery cycle. Seventy percent of 846 reviews are five-star.
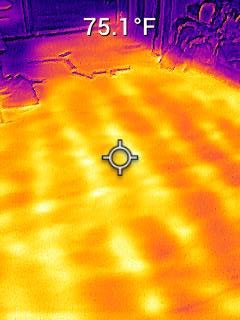
What this camera is good for on site
Mechanical and electrical diagnostics rather than envelope mapping. An overloaded breaker showing a distinct hot spot, a failing circulator pump, a supply and return pair that is not actually paired, a stuck damper: these are point measurements with a known target, which is precisely what this tool is built to do.
The warranty is the strongest structure in this price class at 2 years of parts and labor plus 10 years on the detector. For a buyer who expects to keep one tool for a decade, that coverage matters as much as the sensor.
Where it will disappoint you
Do not buy it to scan walls. At 4,800 pixels you cannot resolve a missing batt pattern from across a room, and there is no wireless transfer or cloud reporting workflow, so building a client-facing document means manual file handling.
The 3 second response time is slow next to 25Hz handhelds, which makes it frustrating when you are trying to catch a transient as a circulator kicks on. And the 572F ceiling rules out any high-temperature electrical fault work.
6. AMPBANK H128 – the Best for Crawlspaces and Wet Conditions
H128 Handheld Thermal Camera, 240 x 240 TISR Resolution, 24h Battery Life Thermal Imaging Camera, 25 Hz Infrared Camera with Temperature Alarm, -4℉~ 842℉ Temp Range, IP65 Protection Level
128x128 TISR to 240x240
40mK sensitivity
IP65
Up to 24 hours
Pros
- IP65 sealing for crawlspace and wet-condition work
- Claimed 24 hours of continuous operation
- 40mK sensitivity catches small deltas
- Temperature alarm with auto max min and center
- Standard tripod mount for repeat shots
Cons
- Real-world accuracy reported at plus or minus 5-7F
- Display quality well below photo quality
- May require walking up to an object
- 842F ceiling is below most rivals
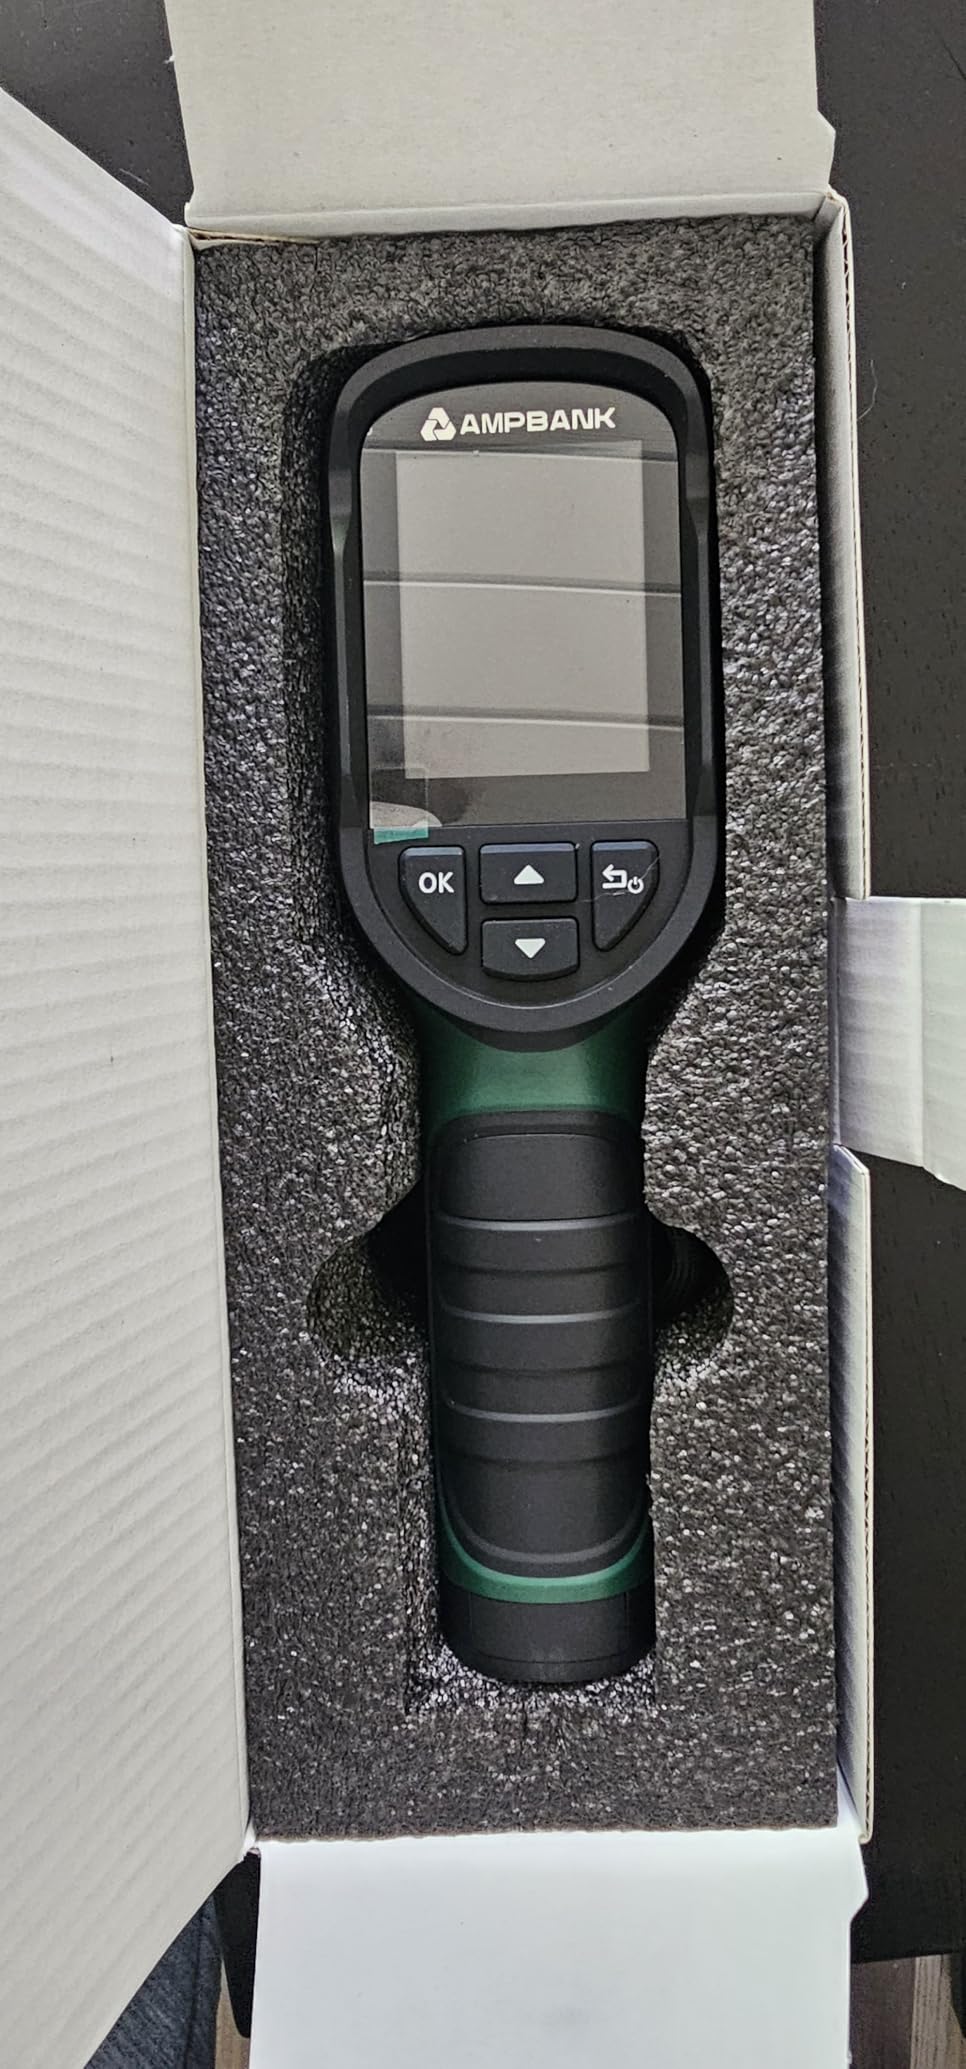
Every other camera on this list carries a lower ingress rating. The H128 runs IP65, plus 6.56-foot drop resistance and a standard tripod mount for repeatable shots of the same defect.
The battery claim is the other reason it belongs here: up to 24 hours of continuous operation from the built-in rechargeable pack, with intelligent auto-shutdown. On a full inspection day that removes the charging question entirely.
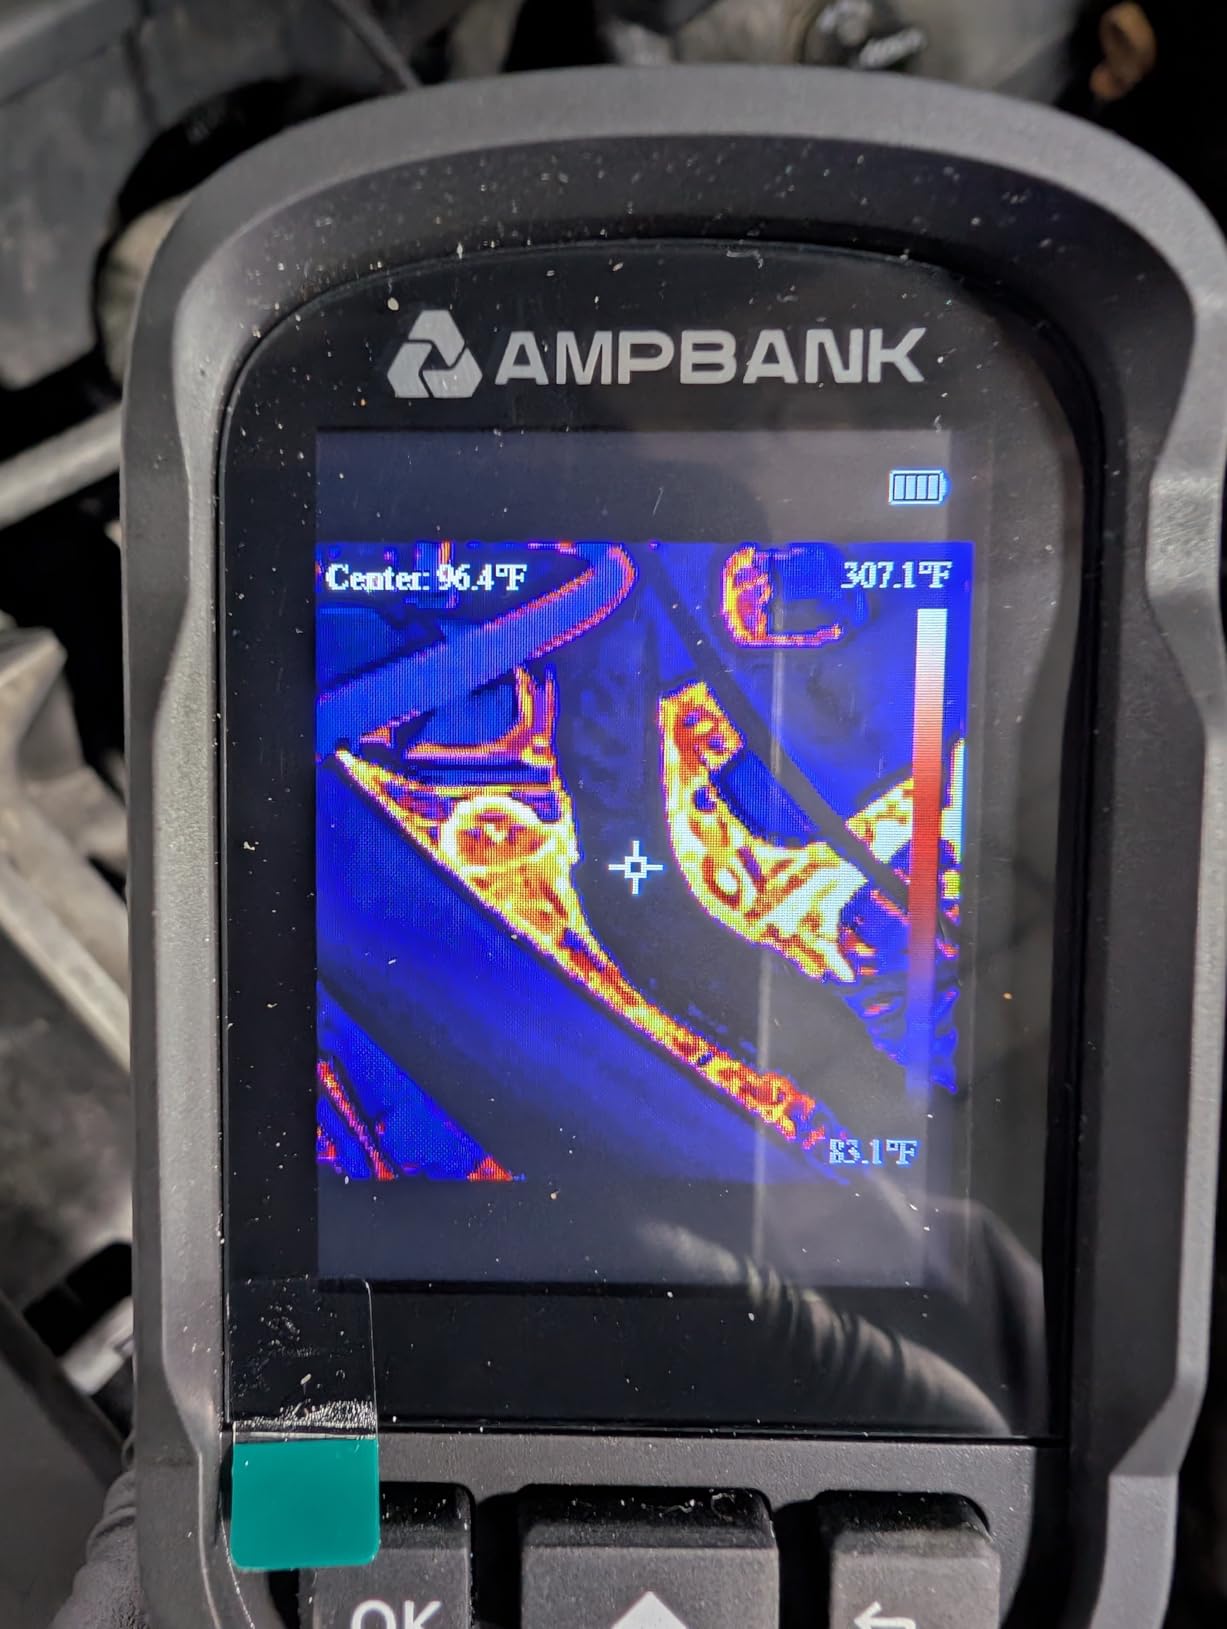
Thermal sensitivity of 40mK is a meaningful figure for envelope work, since it determines how small a temperature difference the sensor can resolve. A 25Hz frame rate keeps imagery smooth while you pan a joist bay, and the temperature alarm with automatic maximum, minimum and center recognition speeds up triage.
Real-world accuracy is reported in the plus or minus 5-7F range, which is looser than the listed plus or minus 3 percent. One owner traced a cold spot on an upstairs ceiling to a roof leak before any damage occurred. Seventy-three percent of 494 reviews are five-star.
What this camera is good for on site
Crawlspaces, unconditioned porches, damp basements, and anywhere dust or water is a normal condition rather than an accident. The tripod mount is understated but genuinely useful: setting the camera up to shoot the same joist bay before and after a remediation gives you a matched pair of images for the file.
Reviewers use it to confirm insulation adequacy at windows and doors and to find a breaker heating up in a panel. If your inspection calendar is heavy on older housing stock, the sealing is worth more than another tier of resolution.
Where it will disappoint you
Accuracy is the honest limitation. If your report needs a defensible temperature number, plus or minus 5-7F in real checks is not the instrument for that. Display quality is well below photo quality, though adequate for reading gradients.
At 128×128 native, you may need to walk right up to an object to tell one component from another, and the 842F ceiling is lower than most rivals here. Treat it as a locating tool rather than a measuring one.
7. MiLESEEY TR10 – the Best for Large Onboard Storage
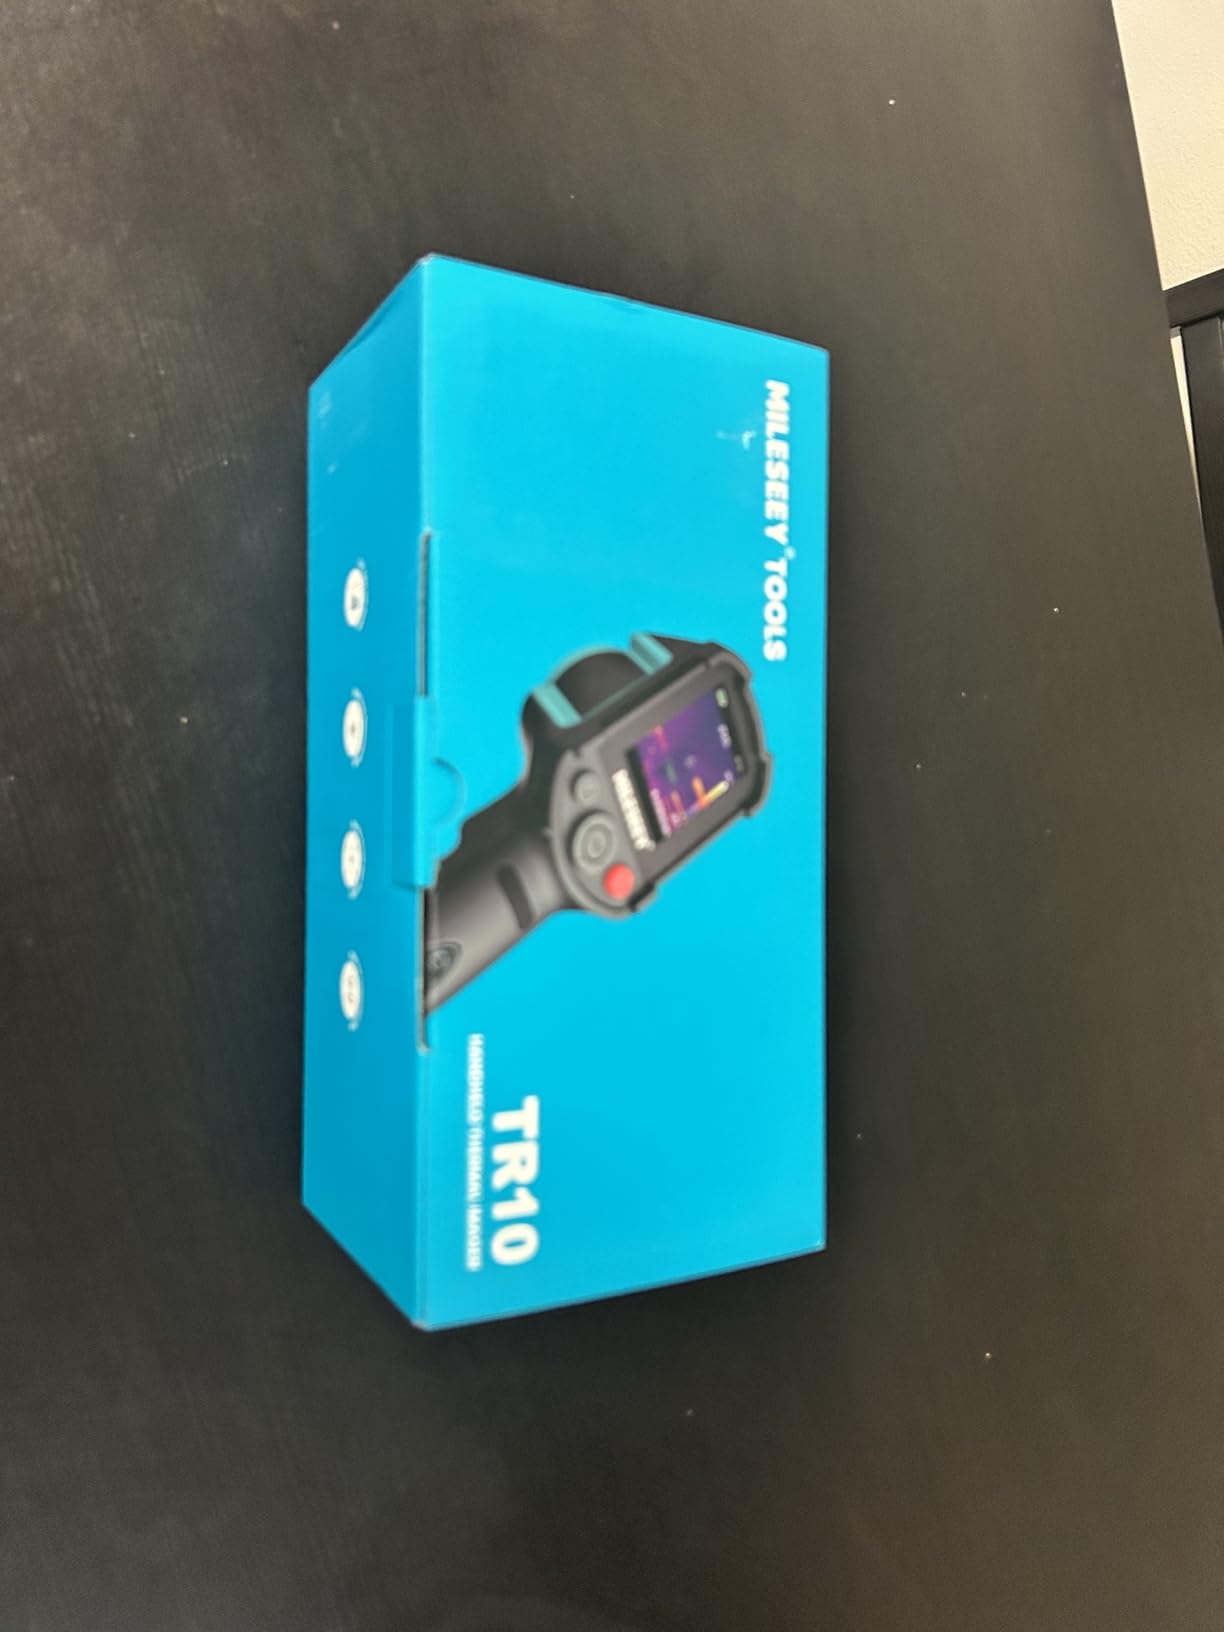
MILESEEY TR10 Thermal Imaging Camera, 192 × 192 IR Resolution, 25Hz
192x192 native sensor
25Hz
NETD under 50mK
8GB 30000+ images
Pros
- Honest 192x192 native resolution for the tier
- Plus or minus 2C accuracy across the range
- 8GB holds more than 30000 images
- 8-hour battery from a 3000mAh pack
- 6.6-foot drop test with a recessed lens
Cons
- Wired connectivity only with no built-in Wi-Fi
- NETD under 50mK is less sensitive than the 40mK units
- No cloud or report-generation software
- No display cover or lens cap included
The TR10 is framed by owners as a resolution-for-money starting point, and the 192×192 sensor is the honest part of that claim. Nothing is being upscaled and sold as native: that is 36,864 real pixels, well above the entry phone attachments and above the 16,384 pixels of the 128×128 detector in the AMPBANK H128.
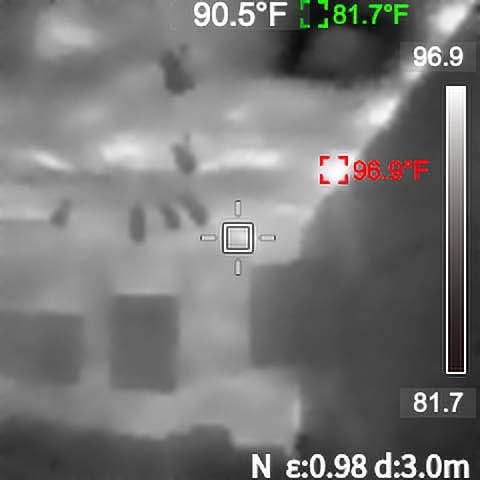
Combined with a 25Hz refresh rate and plus or minus 2C accuracy across a -4F to 1022F range, it covers both envelope and mechanical work in one device. Automatic locking of maximum, minimum and center-point temperatures means you can set it down and come back to the reading.
The 8GB of internal storage holding more than 30,000 pictures is the practical headline. Reviewers document repeat findings across multiple properties without offloading, and the 3000mAh battery covers roughly 8 hours of continuous operation, which is a full inspection day.
Adjustment for emissivity is included, which matters more than it sounds on bare drywall or older wood trim. The 6.6-foot drop test and recessed lens give it some mechanical insurance. Seventy-one percent of 482 reviews are five-star.
What this camera is good for on site
Documentation volume. If you photograph every anomaly for every client and download at the end of the week, storage headroom stops being a minor spec and becomes the thing that saves you an evening. Thirty thousand images is roughly a season of findings on a single card.
The auto-locked maximum, minimum and center readings pair well with a high and low temperature alarm for anomaly recognition, so you can scan a room quickly and come back to what mattered.
Where it will disappoint you
There is no built-in Wi-Fi and no cloud or report-generation software. Transfer is wired, so your workflow is cable-based, and building a client document is manual work rather than a cloud export.
Thermal sensitivity below 50mK is less sensitive than the 40mK and sub-40mK units in this roundup, so very small deltas take longer to separate from noise. The listed components include no display cover or lens cap, which matters if you throw it in a truck bed.
8. Thermal Master Thor002 – the Best for Client-Facing Reports
Thermal Master Thor002 Handheld Thermal Camera, 512 × 384 X³ Resolution
512x384 X3 output
3.5 inch 640x480 IPS screen
2MP visible camera
10.5 hours
Pros
- 512x384 enhanced output at a mid-tier price
- 2MP visible camera for fused client-friendly images
- Six simultaneous measurement points including custom spots
- Voice notes and QR code file management
- 10.5 hour battery with 18W fast charging
Cons
- Heaviest unit here at over 3 pounds
- Companion software less mature than FLIR reporting
- 32GB storage fills quickly with video
The Thor002 does two things nothing else in this roundup combines. Its X3 technology takes a 256×192 detector to 512×384 output, and it pairs that with a 2MP visible-light camera behind a 3.5 inch 640×480 IPS display. Fused thermal and visible imagery is what makes a finding legible to someone who has never held an infrared camera.
For report building, the workflow features are unusually considered: six simultaneous measurement points including center, hottest, coldest and three user-defined spots, voice notes attached to files, QR code file management, USB output to a PC for real-time analysis, and Wi-Fi pairing with phones and tablets.
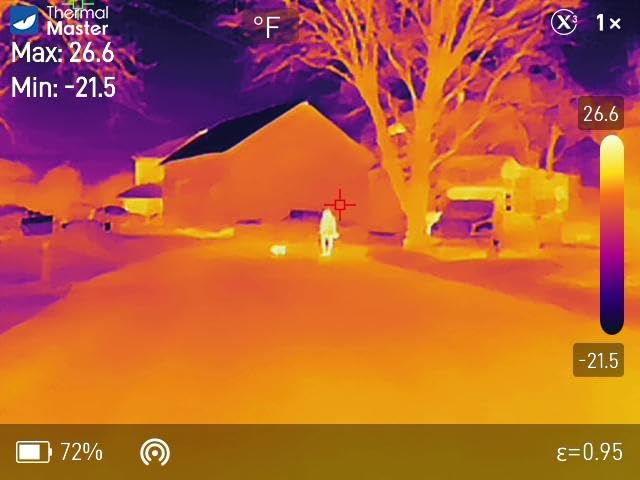
Sensitivity of 40mK at 25Hz, a -4F to 1022F range and plus or minus 3.6F accuracy make it a credible measurement tool rather than a locator. The 4.3mm lens extends the detection range by 34.4 percent with 4X digital zoom, and laser positioning plus automatic high and low alarms handle triage.
At 3.12 pounds it is the heaviest camera here, which is the direct trade for that screen. Seventy-five percent of 275 reviews are five-star with only 2 percent one-star, and owners compare it favorably against far costlier professional cameras.
What this camera is good for on site
Writing the report. Fused images, voice notes captured at the moment you found the defect, and QR-based file transfer between field and office shorten the gap between scanning and delivering. Owners focus heavily on this documentation workflow rather than on imaging alone.
The custom measurement spots let you set a reference point and a suspect point and read the difference directly, which is the cleanest way to document a delta across a large surface.
Where it will disappoint you
Over 3 pounds is not a pocket camera. On a large residential inspection with stairs and ladders involved, that weight adds up by the end of the day, and it is a clear step back from the FLIR C5 at 190g.
The companion software is less mature than FLIR’s professional reporting tools, and 32GB of storage fills quickly once you start recording video. If cloud reporting is non-negotiable for your business, test the export workflow before you commit.
9. HSFTOOLS F2W – the Best for AI-Assisted Scans
HSFTOOLS F2W Thermal Camera 640×480 Super Resolution, AI Scene Detection
640x480 output from 256x192
Sensitivity below 40mK
16GB
6 hours
Pros
- 640x480 enhanced output from a 256x192 detector
- IntellFault AI flags insulation gaps and moisture anomalies
- Sub-40mK sensitivity with a 0.04C detection floor
- Fast boot and smooth 25Hz with fewer recalibrations
- Firmware updates continue adding features
Cons
- No visible-light camera on this version for report overlays
- Weak at long-range outdoor work
- Some owners find numeric readings unreliable
- Only about 6 hours of battery life
The F2W’s argument is time. Pro Scene and IntellFault AI scene detection flag suspicious areas automatically, which on a large envelope means the camera does the first pass while you walk the route instead of you stopping at every color change. Whether that saves real time depends on how many findings you have, but on houses with uneven insulation it clearly does.
Its output resolution is the highest in this roundup: a live AI super-resolution algorithm pushes a 256×192 detector to 640×480 on a 3.2 inch LCD. The underlying detector is a VOx type with sensitivity below 40mK and a detection floor as low as 0.04C.
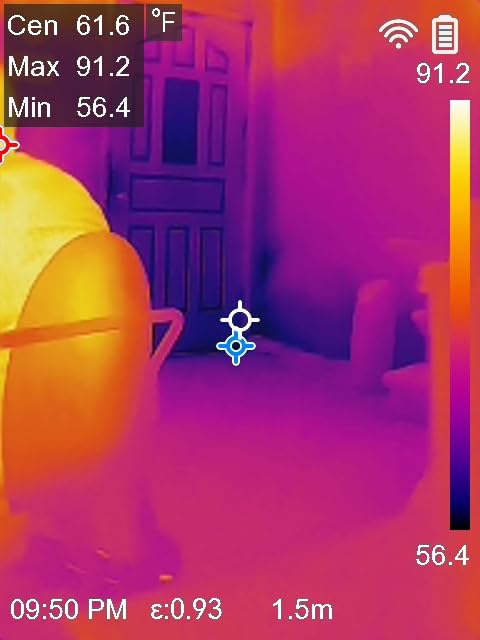
Owners who previously owned an FLIR One Gen 3 or a HIKMICRO B10 report better clarity, faster boot and better sensitivity. Eighty-two percent of 247 reviews are five-star, and only a small one-star share.
Connectivity is Wi-Fi to a phone or tablet, storage is 16GB eMMC for up to 35,000 images, and protection includes a protective sliding lens cover, a 6.6-foot drop test and IP54. Lifetime firmware updates have added video recording after release.
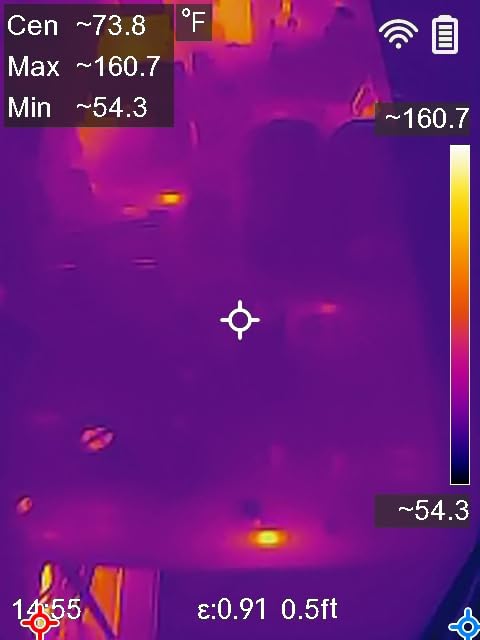
What this camera is good for on site
Fast envelope sweeps and repeat documentation across many properties. Seven selectable palettes with one-touch switching, high and low center and custom measurement points, and automatic alarms make it easy to keep a consistent visual language across a day of scans.
It is also a strong second opinion for owners who already know the FLIR phone module and feel limited by it. Reviewers report smoother PC software is where it stops short of FLIR’s professional suite.
Where it will disappoint you
This F2W version has no visible-light camera, so there is no image overlay for client-facing reports. That is the single most common caveat in reviews, and it is a meaningful one for inspection work even though a variant with the camera exists at a higher tier.
Some owners report the numeric temperature readings as unreliable even when the thermal patterns are clear, so use it to locate and confirm rather than to certify. Battery life is about 6 hours, and it is weak at long-range or outdoor work.
10. Flagfront 240×240 – the Budget Pick for a First Scan
Flagfront Thermal Camera, 240 x 240 TISR Resolution for Home Inspection
240x240 super-resolution
50 degree field of view
IP54
6.6-foot drop rating
Pros
- Lowest-cost entry with a genuine 240x240 sensor
- 50 degree field of view covers a wide area
- Alarm plus high low and center readings speed triage
- IP54 sealing and 6.6-foot drop resistance
- Light enough for long sessions without fatigue
Cons
- Front lens cover will not stay open
- Super-resolution mode can leave images fuzzy
- Screen hard to read in some lighting
- No wireless transfer or report software
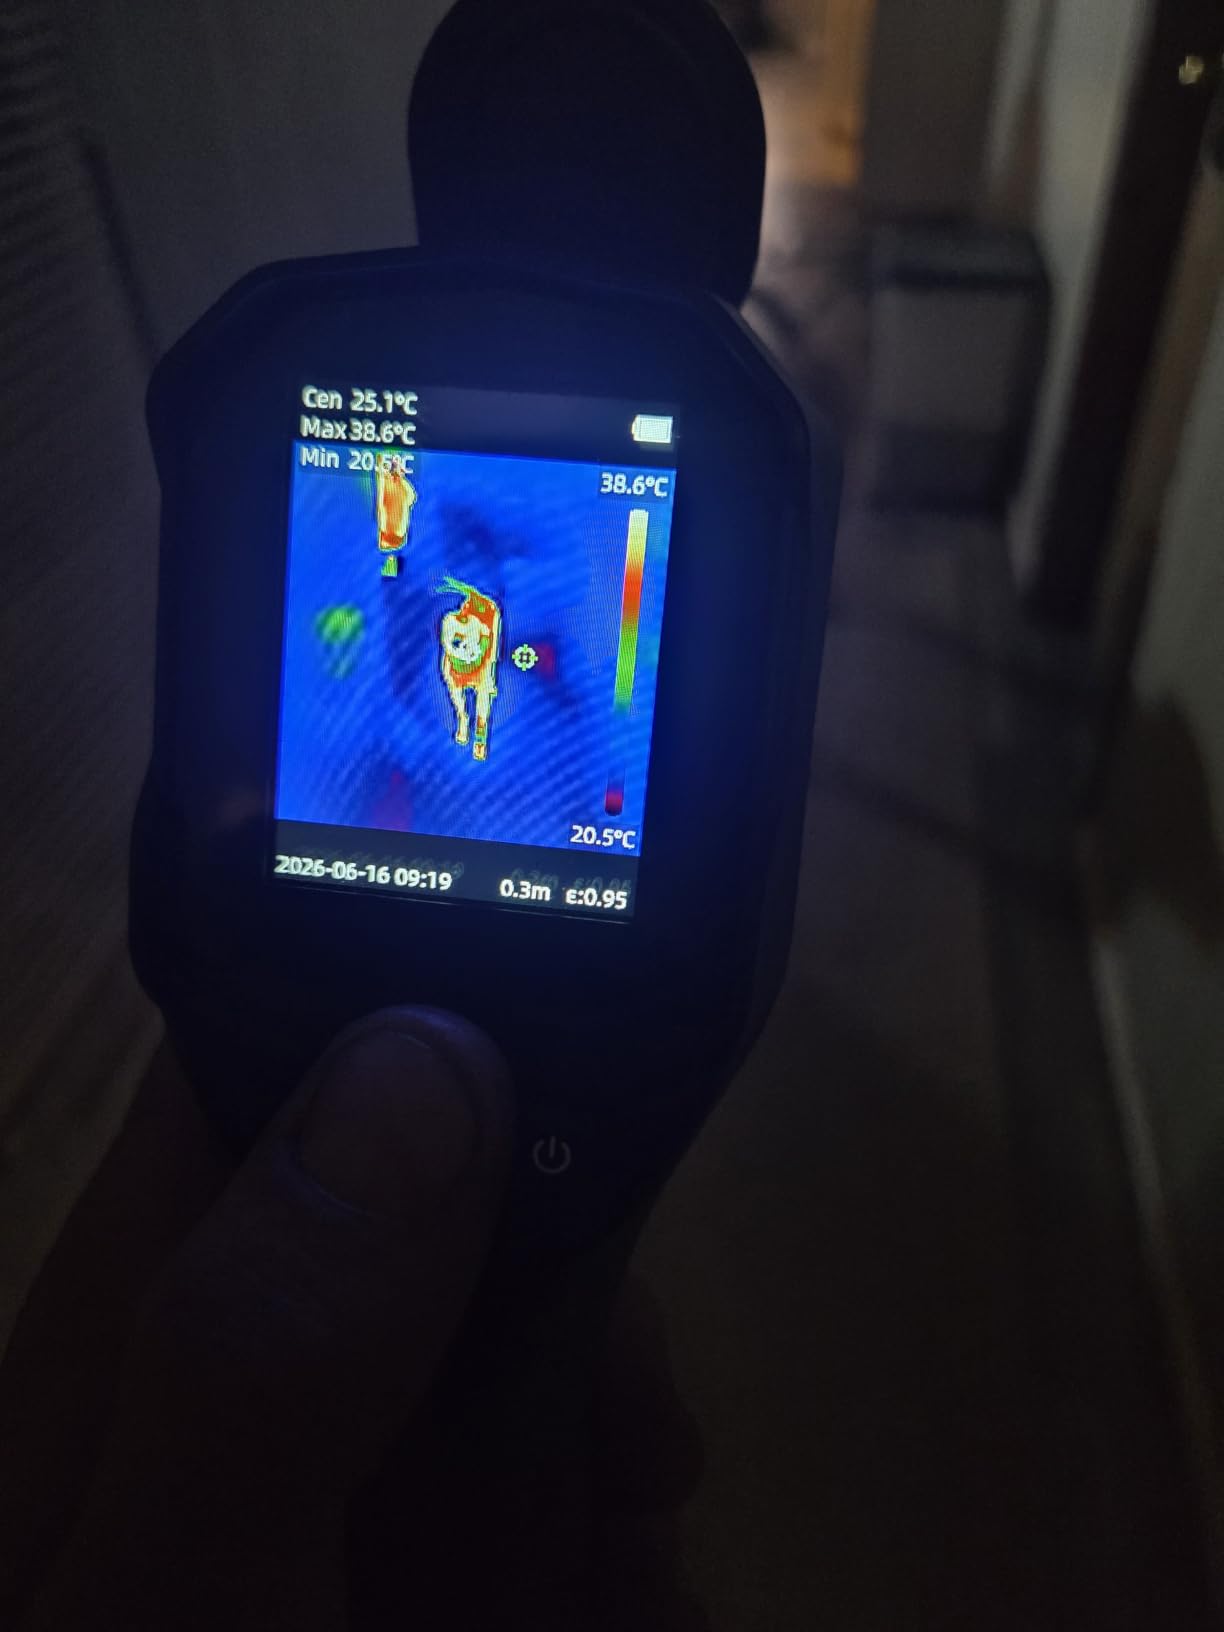
The Flagfront exists to answer one question from a first-time buyer: is a thermal camera worth adding to my toolkit? It carries the lowest price point of the cameras we compared, paired with a 240×240 sensor and a 50 degree field of view, so it is a reasonable way to find out without a large commitment.
The wide field of view is genuinely useful on a first scan. You cover a full bedroom wall in one sweep instead of panning four times, which is exactly the learning curve problem new users hit with narrower lenses.
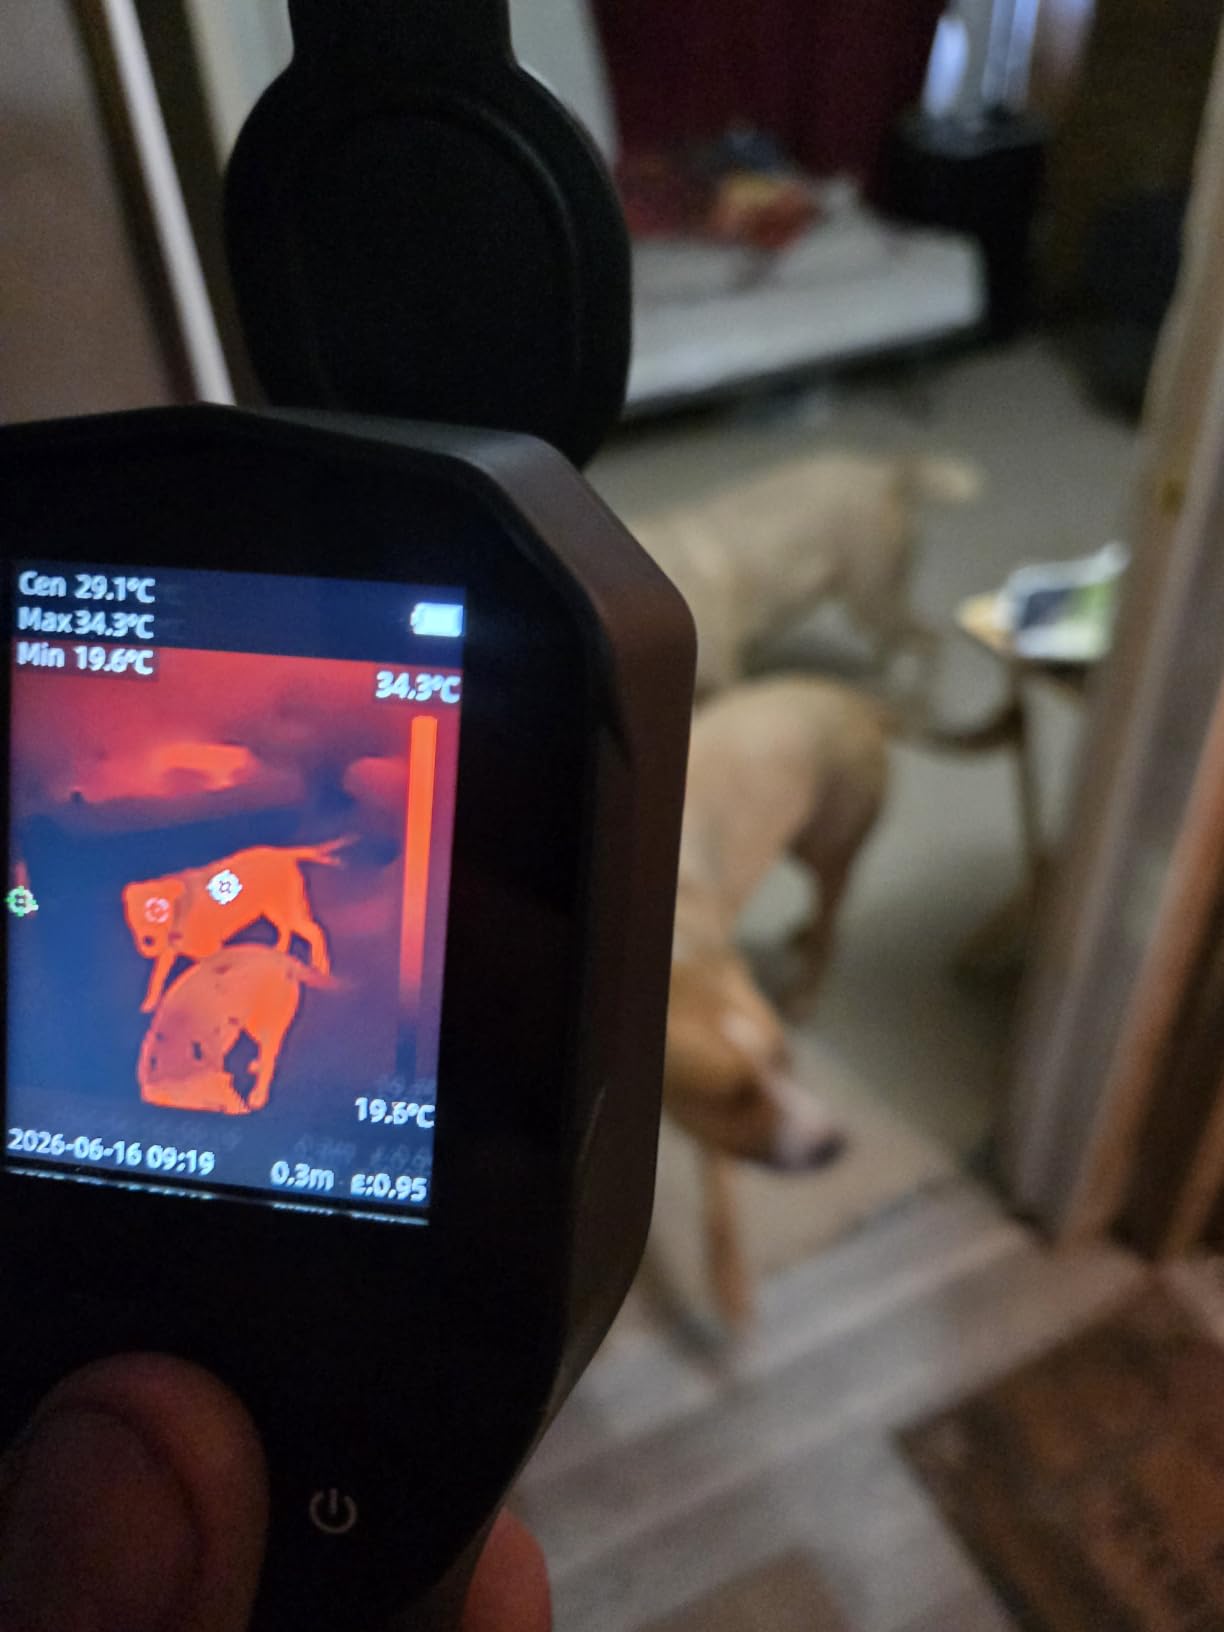
Measurement is basic but complete: a built-in temperature alarm that flags abnormal high and low readings, with the highest, lowest and center temperatures shown on screen, across a -4F to 1022F range with accuracy error within 2 percent. Adjustable distance and emissivity, and six color palettes including White Heat and Iron.
Protection is IP54 with 6.6-foot drop resistance, and owners note it is light enough for long sessions. Seventy-four percent of 300 reviews are five-star, and buyers report scanning walls, ceilings, windows, ductwork and HVAC vents to find heat loss and insulation gaps.
What this camera is good for on site
Learning the craft and screening a single property. The alarm plus high and low and center readings let you sweep a space quickly and know where to look, and the light weight means a long scan session does not leave your arm aching.
It is also a sensible spare or second device. If your primary camera dies on a job, having something in the truck that boots up and produces a usable anomaly image is better than nothing.
Where it will disappoint you
The front lens cover will not stay open and can fall into the sensor’s line of sight when you point the camera downward, which is a real problem when scanning a ceiling. Some owners also find the super-resolution mode leaves images fuzzy rather than adding genuine detail.
There is no wireless transfer and no report software, and the screen is hard to read in some lighting. Several buyers note that a modestly better image is available for slightly more money, which is the most honest reason to step up a tier.
How to Run a Proper Thermal Scan on an Inspection
Owning the right camera is half the job. The other half is load conditions, and this procedure is the part almost nobody explains. Run these steps in order and the same house will produce dramatically different images depending on when you scan it.
Control the indoor-outdoor delta. A meaningful inspection scan needs at least a 5 to 10F difference between inside and outside. Scan a house on a mild overcast morning and every surface looks uniform regardless of what is wrong with it.
Create a load condition and wait. Turn on the building heat or the cooling and let the structure settle. Most inspection thermal guidance points at a 10 to 20 percent differential between conditioned space and the reference surface as a threshold for further investigation, not as a verdict.
Scan interiors first, then re-scan affected exteriors from inside. Exterior views are contaminated by solar loading, wind, and moisture on the surface. Re-shooting an anomaly from the interior removes most of that error.
Wait out recently operated appliances. A flue, a recessed can light, a dryer vent, or a water heater that ran twenty minutes ago will read hot for no structural reason. Note the time of the last use or wait it out.
Set emissivity to match the surface. Bare drywall, unpainted framing, and shiny metal all radiate differently than the default assumes. Incorrect emissivity produces confident, wrong numbers on exactly the surfaces you care about.
Use a fixed scale or span when a delta is subtle. Auto span will rescale the color map on a large wall and quietly hide the small difference you were looking for. Manual span control is the single most requested feature in budget-camera discussions among inspectors, and it is the reason some buy a higher tier.
Record a spot and a reference on every finding. One temperature is a curiosity. The difference between a suspect point and a nearby reference point is what you can defend in a report.
Confirm with another instrument. Thermal flags a candidate. A pin meter, a borescope, or a blower door test confirms it. That boundary is what separates a screening observation from a reportable defect.
How to Choose a Thermal Camera for Home Inspections in 2026
Resolution explained, in plain English
Pixel count determines how far away you can stand and still resolve an anomaly. An 80×60 detector gives 4,800 pixels, which is fine at arm’s length against a wall but useless across a sunlit exterior elevation. A 160×120 detector at 19,200 pixels handles interior close work. A 256×192 detector at 49,152 pixels is the practical entry standard for residential inspections, and anything you see advertised above that number is usually enhanced output rather than native resolution.
This matters more than it sounds for the basement-to-subfloor scenario that comes up constantly among inspectors. Scanning a joist bay from 10 to 15 feet below means every pixel covers more real-world area, and a low grid smears the anomaly across multiple boards. Native resolution is the honest number; upscaled figures add sharpness, not information.
NETD and why lower is better
Thermal sensitivity, expressed as NETD in millikelvins, describes the smallest temperature difference the sensor can resolve. The sensitivity figures here run from below 40mK on the HSFTOOLS F2W and the Thermal Master Thor002, to 40mK on the AMPBANK H128, to under 50mK on the MiLESEEY TR10. Lower is more sensitive, and more sensitivity means a smaller anomaly separates from sensor noise faster.
NETD is not the same as accuracy. Two cameras can resolve the same small difference and still report different absolute temperatures. For locating and comparing anomalies, sensitivity matters more; for reporting a specific measured value, accuracy matters more.
Standalone or smartphone attachment
A smartphone attachment wins on cost, on pack size, and on the fact that you already own the display and the storage. It loses when your phone battery is low, when a thick case blocks the plug, or when you want a paired infrared and visible photo for the report. A standalone camera wins on all-day battery endurance, on boot-and-scan speed, and on the images it produces.
The honest verdict for professionals is that the attachment is a scouting tool and the standalone is a reporting tool. For homeowners and agents, the attachment is usually enough, because the person you are showing the image to is standing in the room with you.
Just before you buy, run one test that settles most arguments: scan the same interior wall with any two cameras you are considering and compare whether both show the same anomaly at the same spot.
Fixed scale and span versus auto span
Auto span picks the color range for you, which is friendly and occasionally misleading. Fixed or manual span lets you hold the same temperature window across an entire wall, so a 3F difference looks the same at the far corner as at the near corner. On sunlit exterior elevations where the anomaly is small and the surface temperature swing is large, manual span is close to mandatory.
The false positives to expect
Sun-facing exterior walls, rooftops that have absorbed solar gain all day, recessed can lighting, recently operated appliances, and any surface with moisture on it will all produce dramatic-looking anomalies that are not defects. Load them into a mental checklist before you write anything down. Reviewers on inspection forums repeatedly report cameras flagging exactly these conditions in their first scans.
If you want the reference images to compare against, our best trail cameras for hunting guide covers the same thermal-versus-visible-image tradeoff from a very different environment, where long detection range and low-light performance matter instead.
What Thermal Imaging Cannot Tell You
A thermal camera does not see through walls. It senses infrared radiation emitted by the surface in front of the lens, which means every image you take is of the nearest surface only. A question that comes up constantly is whether thermal or night vision can reveal what is inside a house, and the answer is no for both.
More important for professional work: thermal imaging is a non-destructive screening tool that flags anomalies for further investigation, not a defect detector in its own right. A temperature difference tells you there is something worth investigating. It does not tell you what the something is, and it does not establish that a condition is a violation of any standard of practice.
Inspectors posting on r/HomeInspections have described the version of this that damages credibility: a scan showing nothing abnormal while a moisture meter located a real problem. That outcome is not a failure of the camera. It is what happens when the building was scanned without a load condition, with the wrong emissivity, or on a day with too small an indoor-outdoor delta. Confirm the candidate with a pin meter or a borescope and your report stands up.
A thermal camera also cannot measure moisture content. It shows that a surface is cooler than its surroundings, which is consistent with evaporation or with missing insulation or with thermal bridging through framing. Separating those three possibilities takes a moisture meter and sometimes a destructive test.
Frequently Asked Questions
What thermal camera do home inspectors use?
Full-time inspectors usually carry two: a pocket-sized standalone camera with a built-in screen for reporting, and a small smartphone module for fast confirmation of a suspicious wall. The standalone unit is the one clients see, because it shows a paired infrared and visible photo and can produce a documented report on the spot.
What is the best thermal imaging camera for homeowners?
For homeowners the FLIR One Android USB-C is the easiest starting point: it plugs into the phone, needs no separate battery, and its app includes a step-by-step inspection guide. If you want resolution, the TOPDON TC001 gives a genuine 256×192 detector and nine measurement areas in the same plug-in form.
Is thermal imaging worth it for home inspection?
Yes, as a screening tool. A thermal scan surfaces missing insulation, air leakage at rim joists and penetrations, thermal bridging, and overheating electrical or HVAC components without opening a wall. It is not a defect detector, so every anomaly you record still needs confirmation with a moisture meter, borescope, or blower door test before it goes in a report.
Can a thermal camera see moisture behind walls?
No. A thermal camera senses infrared radiation from the surface in front of the lens, so it cannot see through drywall or any other material. What it can show is the surface temperature pattern: a region reading cooler than the surrounding wall is consistent with evaporation behind it, but that same pattern also appears with missing insulation or thermal bridging, so you need a moisture meter to tell them apart.
What resolution thermal camera do I need?
At least 256×192 for professional residential work, which is 49152 native pixels. That tier resolves anomalies at normal inspection distances and handles interior close-ups. An 80×60 or 160×120 detector is workable at arm’s length against a wall but struggles across a sunlit exterior wall, and any resolution figure above 256×192 is usually enhanced output rather than additional sensor data.
Final Verdict
If you want one answer to which of these is the best thermal imaging camera for home inspections, it depends on which side of the job you are standing on. The FLIR One Android USB-C is our editor’s choice because 3,735 verified reviews make it the most proven entry point available, and its MSX processing plus built-in inspection guide do more with a small sensor than any competing module. Professional inspectors should step up to a 256×192 standalone such as the TOPDON TC004 or the Thermal Master Thor002, where the built-in screen, onboard storage, and paired visible imagery are what make a finding defensible in a report.
Whatever you choose, the camera is only half the instrument. Run the load conditions, hold the span fixed when the delta is small, and confirm every anomaly with another tool before you write it up. That discipline is what separates a thermal scan from a guess.