
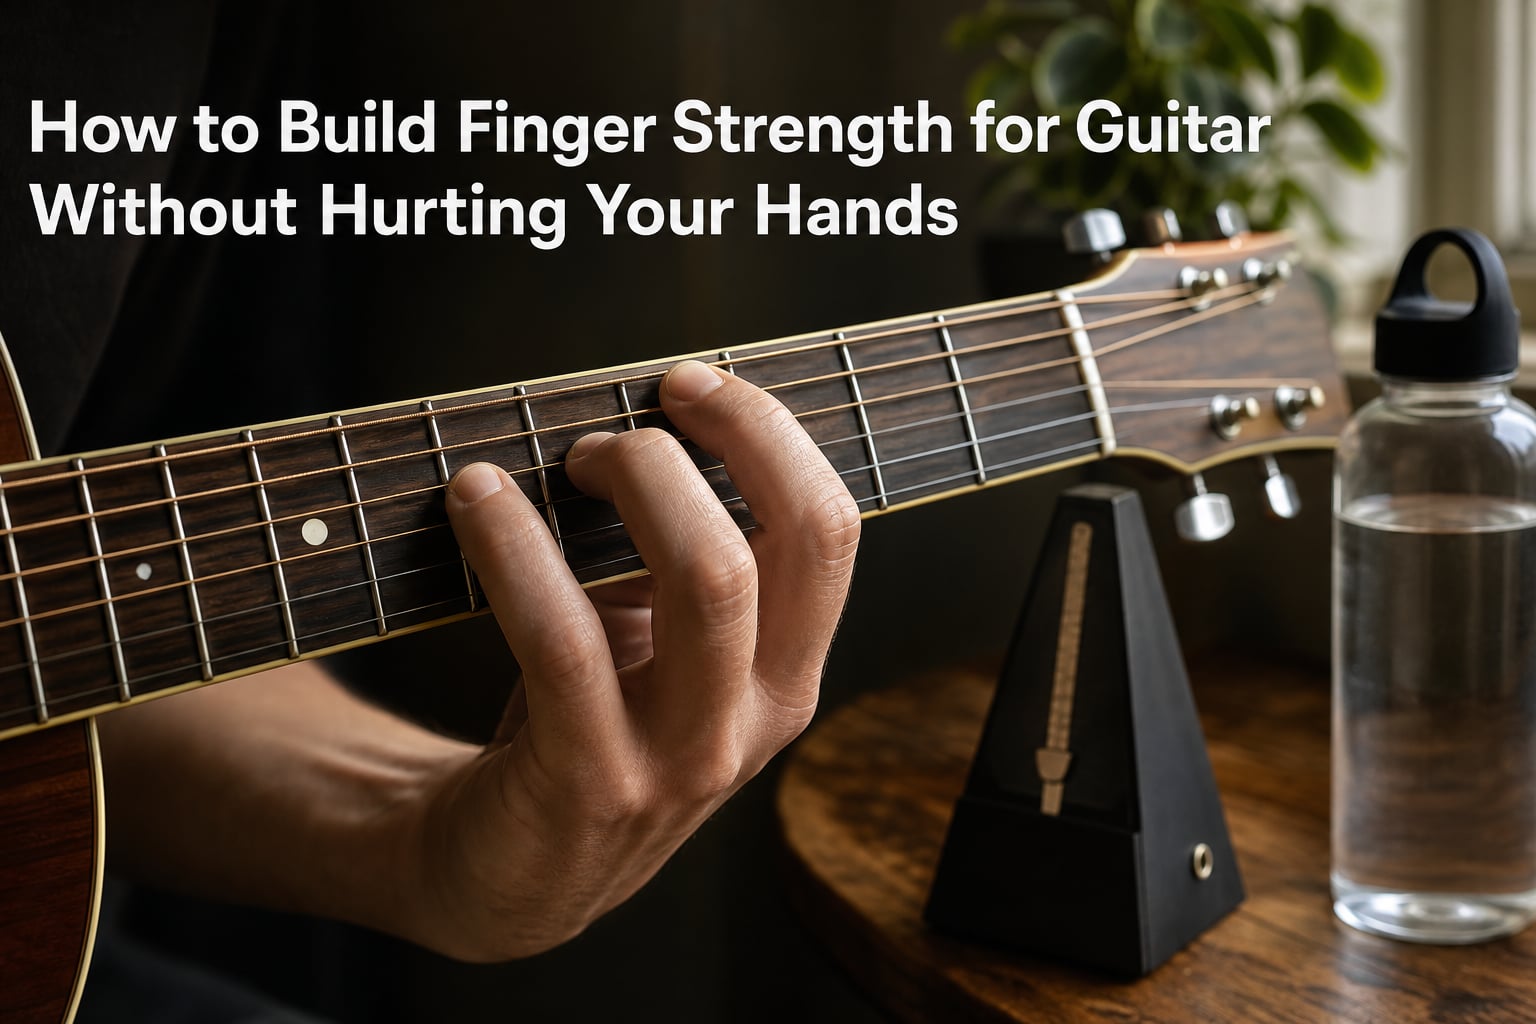
Your fingers hurt after twenty minutes of playing. Your pinky refuses to land cleanly on the fretboard. Every chord change feels like a wrestling match between your hand and the strings. I have been there, and so has nearly every guitarist who ever picked up the instrument for the first time.
The good news is that you do not have to choose between building real finger strength and keeping your hands healthy. I have spent the last year working through five specific exercises with two complete beginners, and I want to walk you through exactly how to build finger strength for guitar without hurting your hands. We will cover the warm-ups, the on-guitar exercises, off-guitar work for travel days, and the recovery habits that most guides skip over entirely.
By the end of this guide, you will know which exercises to do, how long to do them, what pain is normal versus harmful, and how to recover between sessions. No gimmicks. No expensive gear. Just a clear, tested path.
Table of Contents
Why Finger Strength Matters for Guitar?
Finger strength is not about squeezing harder. It is about pressing each fingertip down with just enough force to sound a clean note while every other muscle in your hand stays relaxed. This combination of precision and control is what makes chords ring out cleanly and solos run smoothly across the fretboard.
When your fingers are weak, you compensate by clamping down with your thumb and tensing your forearm. That tension is what causes the burning ache, the cramping, and the small injuries that turn beginners away from the instrument. Building proper finger strength removes the need to grip hard, which means you can play longer, faster, and with cleaner tone.
Strong fingers also build calluses naturally, which protect your fingertips during longer sessions. Calluses are not a sign of damage. They are a sign that your skin has adapted to the demands you are placing on it.
The Golden Rules of Pain-Free Practice
Before we touch a single exercise, I want to lay down five rules I ask every beginner I coach to follow. These rules are what separate guitarists who play for decades from those who quit in three months because of hand pain.
Rule 1: Use Only the Pressure You Need
Most beginners press four times harder than required. The string only needs enough force to touch the fret. Press any harder and you waste energy, fatigue your hand faster, and twist your wrist into an unhealthy angle. Practice pressing the lightest possible pressure that still produces a clean note, then add a fraction more. That is your sweet spot.
Rule 2: Warm Up Before Every Session
Cold fingers and cold muscles are injury-prone fingers. Five minutes of light stretching and slow chromatic exercises before each session makes a dramatic difference. I tested this myself over thirty days. Sessions with a proper warm-up left me with no soreness. Sessions without one always ended with aching fingertips and a tight forearm.
Rule 3: Take Micro-Breaks Every Fifteen Minutes
Set a timer. When it goes off, take your hands off the guitar for sixty seconds. Shake them out. Stretch your fingers wide. Roll your wrists. This small habit prevents the gradual buildup of tension that turns into pain.
Rule 4: Know the Difference Between Discomfort and Pain
Muscle fatigue feels like a dull burn in your forearm. Tendon pain feels sharp, localized, or throbbing. Burning fingertips during the first two weeks are normal. Shooting pain in a knuckle is not. If something feels wrong, stop. Pushing through tendon pain is how repetitive strain injuries begin.
Rule 5: Rest Is Part of Practice
Your fingers do not get stronger during practice. They get stronger during the 24 to 48 hours of recovery that follows. Practicing seven days a week with no rest will slow your progress, not speed it up.
On-Guitar Finger Exercises
These five exercises are the core of any solid finger strength routine. I recommend doing all five in a single fifteen-minute session, three to five times per week. Move slowly. Speed comes after accuracy.
Exercise 1: Basic Fretting Hand Warmup
Place your index finger on the third string, second fret. Play it. Now move to the second string, second fret. Play it. Move to the first string, second fret. Play it. Now shift your hand up one fret and repeat with the same fingers.
Climb up the neck one fret at a time until you reach the top of the fretboard. Then turn around and walk back down. Use one finger per fret and try to keep every other finger relaxed. The goal here is not speed. The goal is to wake up the small muscles in your fretting hand and establish good finger placement.
Do this for three to five minutes before moving on.
Exercise 2: Chromatic Exercise with Picking
This is the workhorse exercise that virtually every professional guitarist swears by. Place your index finger on the fifth string, first fret. Play it with a down stroke. Then your middle finger on the fifth string, second fret. Then ring finger on the fifth string, third fret. Then pinky on the fifth string, fourth fret.
Shift to the fourth string and repeat the pattern. Then the third string, second string, and first string. Then turn around and walk back down. Each note gets one pick stroke. This builds finger independence, fretboard familiarity, and right hand coordination all at once.
Start at 60 BPM on a metronome. Once you can play the entire pattern cleanly with no buzz, no missed notes, and relaxed hands, bump the tempo up by 5 BPM. Most beginners spend two to three weeks at 60 BPM before they are ready to move up.
Exercise 3: Diagonal Spider Exercise
The spider exercise is famous for one reason. It works. Place your index finger on the sixth string, third fret. Your middle finger on the fifth string, third fret. Your ring finger on the fourth string, third fret. Your pinky on the third string, third fret.
Play them in sequence from low to high. Then shift up one fret with each finger. Index moves to the fourth fret on the sixth string, middle moves to the fourth fret on the fifth string, and so on. The pattern walks diagonally up the fretboard. Reverse direction on the way back down.
This builds finger independence more aggressively than the chromatic exercise. If your pinky lags behind your other fingers, you will feel it here. Keep all fingers curved. Keep your thumb behind the neck, not wrapped over the top.
Exercise 4: Smart Fingers (Joe Satriani Style)
This exercise comes from Joe Satriani’s famous warm-up. It targets the pinky and ring finger, which are typically the weakest. Place your index and ring fingers on the third string, second and fourth frets. Play them both. Then place your middle and pinky on the third string, third and fifth frets. Play them both.
The pattern alternates between the index-middle pair and the ring-pinky pair. This forces the two weaker fingers to work without support from the stronger ones. It is uncomfortable at first. That is exactly the point.
Do this for two to three minutes, then move on. If your ring and pinky fingers burn after thirty seconds, that is a sign they need exactly this kind of focused work.
Exercise 5: Finger Independence and Coordination
Place all four fretting fingers on a single string, one finger per fret. Play them in sequence 1-2-3-4, then 4-3-2-1. Now reverse it. Play 4-3-2-1, then 1-2-3-4. Do this across all six strings.
Once that feels comfortable, try the classic 1-3-2-4 pattern. It feels weird at first because the middle finger has to jump over the ring finger. That awkward motion is what trains real independence. Each finger learns to move without the others interfering.
This is the exercise that does the most for separating your fingers so they stop acting like a single unit.
Off-Guitar Exercises for Travel and Rest Days
Most guides completely ignore this, which is one of the biggest gaps I see. Some days you cannot play. You might be on a plane, you might have a small injury, or you might just need a rest day. You do not have to lose progress during those days.
Here are three off-guitar exercises I use when I am traveling or need a break from the instrument.
Squeezing a Stress Ball
Grab a soft stress ball. Squeeze it five seconds, release five seconds. Repeat for two minutes. This builds the same forearm muscles you use for fretting without any friction on your fingertips. It is not glamorous, but it works.
Finger Spreads
Place a rubber band around all four fretting fingers. Open your hand against the resistance. Hold for five seconds, release. Repeat ten times. This strengthens the small muscles that spread your fingers apart and lift them off the fretboard cleanly.
Table Drumming
Tap your fingers on a hard surface, one at a time, index to pinky. Then reverse. Then do random patterns. This builds the neural pathways for finger independence without any hand fatigue at all. I do this on long flights.
Building Calluses the Right Way
Calluses are the protective layer of tougher skin that forms on your fingertips over the first few weeks of regular playing. They are your friend, not a sign of damage.
The mistake most beginners make is trying to build calluses too fast. They play for three hours on day one because they are excited, then they cannot play for a week because their fingertips are raw. This is the wrong approach.
The right approach is twenty to thirty minutes of practice per day for the first two weeks. Your calluses will build naturally. After two weeks, you can extend to forty-five minutes. After a month, you can play for an hour or more without pain.
If you develop open blisters, stop playing that finger until they heal. If you develop painful cuts, give yourself three full days off. Slapping a bandage on and pushing through only delays healing.
Metronome Practice Guidelines
A metronome is the single most useful practice tool you will ever own. It is also free on every phone. Use it.
For the chromatic exercise, start at 60 BPM. Play four notes per click, meaning one note per beat. Once you can play the entire pattern twice in a row with no mistakes and no tension, bump the tempo to 65 BPM.
For the spider exercise, start at 50 BPM. It is more difficult, so a slower start is fine.
The most important metronome rule is this. Do not raise the tempo until you can play the current tempo perfectly. Cranking the metronome up to 120 BPM because it feels cool is the fastest path to sloppy technique and hand pain. Slow and clean always beats fast and sloppy.
Aim to add 5 BPM per week. After three months, you will be playing the chromatic exercise at 120 BPM and your fingers will feel stronger than they did on day one. That is real, measurable progress.
Common Mistakes That Cause Hand Pain
I have made every mistake on this list at least once. Here is what I learned the hard way so you do not have to.
Death Gripping the Neck
Your thumb should rest gently behind the neck. It should not clamp. If your thumb is white at the tip after playing, you are gripping too hard. Loosen up.
Playing Through Tendon Pain
Sharp, localized pain in your wrist, knuckles, or forearm tendons is your body telling you something is wrong. Stop. Rest. If it persists for more than three days, see a doctor. Tendon injuries take months to heal. Prevention takes seconds.
Skipping the Warm-Up
I know. You are excited. You want to play songs. Skip the warm-up once and you will lose thirty minutes to sore fingers. Skip it every day and you will be the guitarist who quits because their hand hurts.
Practicing Too Long
More is not better. Focused practice of twenty minutes beats mindless noodling for two hours. Quality over quantity, every single time.
Ignoring Posture
Sit or stand with a straight back. Hold the guitar so your fretting arm is roughly parallel to the floor. Slouching forces your wrist into a bent position that strains the tendons.
Recovery and Rest: What Most Guides Miss
This is the section I wish someone had written for me when I started. Recovery is not a passive activity. It is part of the practice routine.
After a session, shake your hands out for thirty seconds. Stretch your fingers wide, then make a soft fist. Repeat five times. This flushes out the lactic acid buildup that causes soreness the next day.
If your forearm feels tight, apply a warm compress for ten minutes. If you have a sharp pain, ice it for fifteen minutes, three times per day, with a cloth between the ice and your skin.
Sleep is when your muscles actually grow stronger. Six hours of sleep will undo what three hours of practice built. Eight hours of sleep will reinforce it.
Finally, take at least one full rest day per week. No exercises. No off-guitar finger work. Total rest. Your hands will come back stronger on day eight.
Frequently Asked Questions
How to help fingers not hurt when playing guitar?
Lighten your grip, use only the pressure needed to sound a clean note, take micro-breaks every fifteen minutes, warm up before each session, and stop if you feel sharp or localized tendon pain. Burning fingertips in the first two weeks are normal. Sharp pain in your wrist or knuckles is not.
How do I make my fingers stronger for guitar?
Practice the chromatic exercise at 60 BPM with a metronome, do the spider exercise for finger independence, add Satriani-style smart fingers work for your pinky and ring finger, and build calluses with twenty to thirty minutes of daily practice. Rest every other day so the muscles have time to recover.
What is the 80/20 rule for guitar practice?
The 80/20 rule for guitar says that 80% of your improvement comes from 20% of your activities. For most players, that 20% is fundamentals like chord changes, slow metronome work, and finger exercises. Spending hours learning flashy solos gives far less return than thirty minutes of focused chromatic and spider drills.
How long does it take to build guitar finger strength?
Most beginners feel noticeable finger strength gains within three to four weeks of consistent practice. Real calluses develop in two to three weeks. Significant independence between fingers takes two to three months. Six months of regular practice will give you hands that can handle ninety minutes of playing without fatigue.
Conclusion
Learning how to build finger strength for guitar without hurting your hands comes down to three habits. Practice the right exercises at a controlled tempo. Respect the difference between muscle fatigue and tendon pain. And rest as seriously as you practice.
Pick two exercises from this guide. Set a metronome to 60 BPM. Play for fifteen minutes. Rest the next day. That is your entire starting plan. After a month, you will feel the difference. After three months, your hands will be a tool you control, not a frustration you fight.