
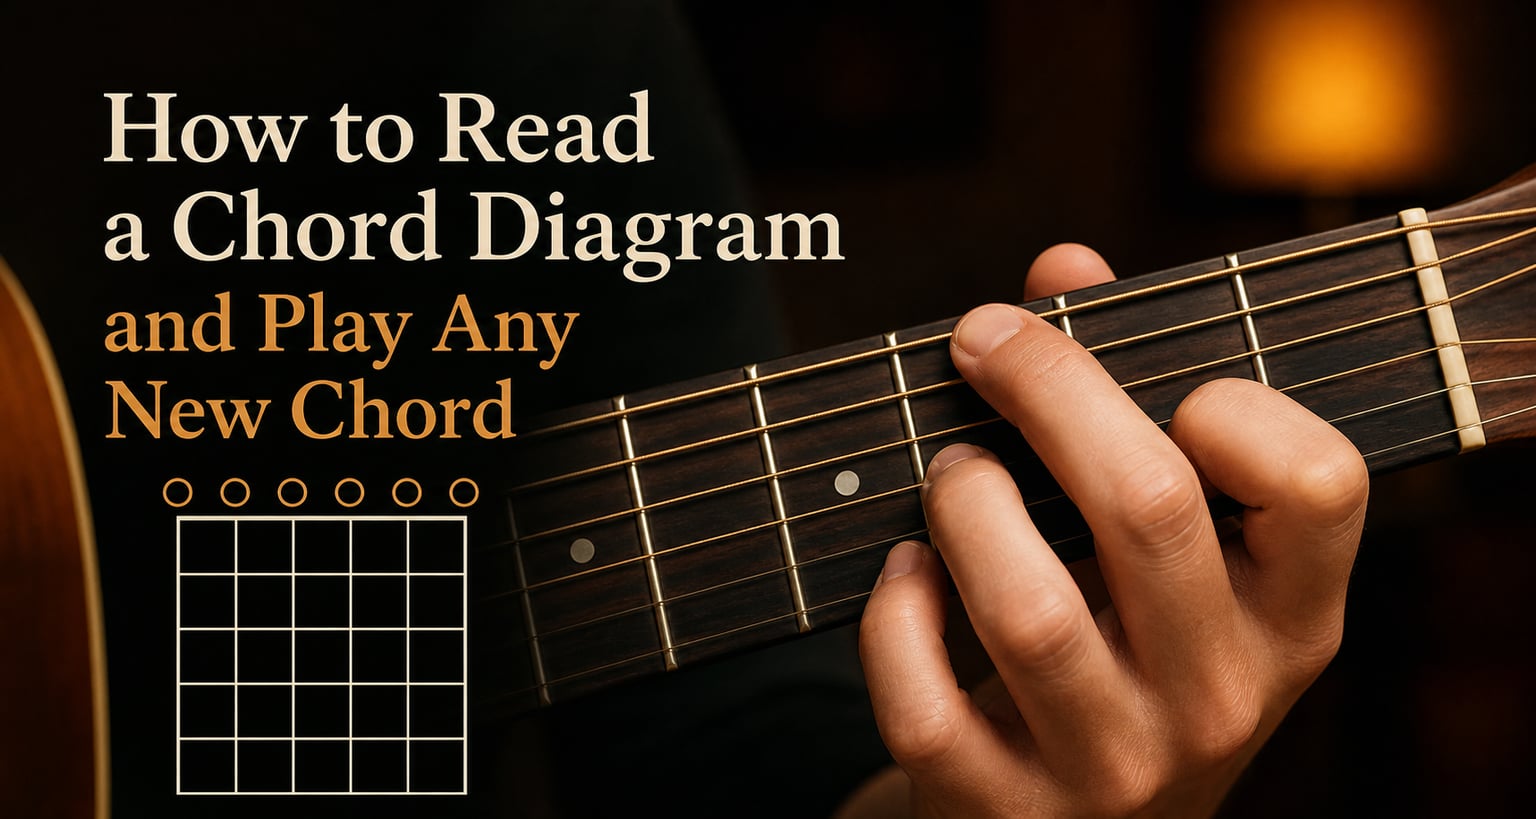
A chord diagram is a small map that tells you exactly which guitar strings to play, which frets to press, and often which fingers to use. Once you know how to read a chord diagram, an unfamiliar chord stops being a mystery: read the grid, make the shape, check each string, then strum.
At first glance, a guitar chord diagram can feel backwards because it is a view of the fretboard standing upright, not a picture of the guitar lying in your lap. The key orientation rule is simple: the left vertical line is the thick low E string, and the right vertical line is the thin high E string.
I recommend learning the symbols in one fixed order rather than trying to decode every mark at once. Start at the top, identify the strings and frets, read the X or O marks, place the dotted notes with the shown fingers, and test the strings one at a time.
Quick answer: Vertical lines are strings, horizontal lines are frets, dots are notes to hold down, numbers name your fingers, O means play an open string, and X means do not play that string.
Table of Contents
To read a chord diagram, start at the nut and work downward
Read any chord chart with the same five-pass method. This prevents the common beginner mistake of forming a shape that looks close but includes one wrong string or one wrong fret.
Read the chord name. The letter or symbol above the grid identifies the intended chord, such as C, Am, G7, or Fmaj7.
Find the top edge. A thick bar at the top is the nut; if there is no thick bar, look for a position label such as 6fr.
Read left to right. Match the six vertical lines to low E, A, D, G, B, and high E.
Read the top marks. An O means let that string ring open, while an X means mute or skip it.
Place the dots, then test. Press each dot at its stated string and fret, pick the strings separately, then strum only the strings the diagram permits.
This sequence also works when you see chord boxes above song lyrics. The boxes tell you how to make the chord; the lyric sheet or rhythm notation tells you when to change it.
Warning: A chord diagram shows a shape, not the timing. Do not assume one box equals one bar, one strum, or one beat; look at the song’s rhythm marks, chord progression, or count for duration.
The six vertical lines are the guitar strings
A standard six-string guitar chord diagram is read as if the guitar were standing in front of you with the headstock at the top. From left to right, the vertical lines are low E, A, D, G, B, and high E.
The left side is not the string physically farthest left while you hold a right-handed guitar. It represents the lowest-pitched, thickest string. This low-E-on-the-left convention is the detail that trips up many new players, so say the string names aloud as you follow the grid.
The thick top line is the nut
The nut is the narrow strip at the end of the fretboard nearest the headstock, where the open strings begin. On a chord diagram, it is usually drawn as a heavier horizontal line across the top of the grid.
If you see that thick line, the first horizontal space underneath it is the first fret. A dot in that space means press the string at fret 1, not on the nut itself.
The spaces under the nut are frets
The horizontal lines are the fret wires, and the spaces between them represent frets. In a basic open-position chart, the first space is fret 1, the next is fret 2, and so on.
Place a finger just behind the fret wire that ends the space, toward the nut, rather than directly on top of the metal wire. That position helps the note ring and calls for less pressure than squeezing in the middle of the fretboard.
Dots show where your fingers go on the fretboard
Each dot tells you to hold one string down at one fret. Its horizontal position chooses the string, and its vertical position chooses the fret; for example, a dot on the D-string line in the second space means D string, fret 2.
A filled circle is the usual notation, but some chord charts use outlined circles, colored dots, or dots that contain finger numbers. The visual treatment can change, while the location rule stays the same.
Finger numbers tell you which hand finger to use
When a number appears inside or beside a dot, it normally refers to the fretting hand, not the string number. For a right-handed player, the standard system is the same even though the picking hand is on the other side of the guitar.
1: index finger
2: middle finger
3: ring finger
4: pinky finger
Finger suggestions are useful because they leave other fingers free for the next chord in a progression. Still, a chord can sound correct with a different fingering when your hand size, the next change, or a melody line calls for it.
An O means play that string open
An O above a vertical line means play the string without fretting it. It is an open string, so your fretting hand should not touch it accidentally.
For example, an O above the high E line means that thin string should ring without a finger on it. While forming the chord, check that a nearby fingertip is not leaning into that open string and muting it.
An X means do not let that string sound
An X above a string means the string is muted or omitted. In a relaxed strum, you can avoid it with your pick; in many shapes, lightly touching it with a spare fretting-hand finger gives you a percussive muted string instead.
The distinction matters. An X is not an instruction to press a note, and an O is not a note to mute. Beginners often hear a chord sound wrong because they strum a low-E string marked X.
The chord letter names the sound the shape is meant to produce
The label above the box may be a simple letter such as A or E, or a longer name such as Dm, Cmaj7, Asus4, or B7. The letters and suffixes name the chord quality; the grid is the fingering recipe.
Read the label before you play, but trust the marks on the chord diagram for placement. Two diagrams can carry related names yet use different voicings, meaning they arrange the same chord tones in different parts of the fretboard.
A barre line means one finger holds several strings
A barre chord diagram may show a thick curved line, a straight bar, or a long rectangle across two or more strings. It means one finger, usually finger 1, presses those strings at the same fret.
Place the index finger close behind the fret wire, roll it slightly toward its bony edge, and add the other fingers before judging the sound. Pick the barred strings separately; a muted or buzzing string tells you where the pressure or angle needs adjustment.
Tip: Build a barre in stages. First make two clean notes with the index finger, then add another string, then add the rest of the chord shape. A full six-string barre need not be perfect before you start learning the hand position.
6fr means the top line begins at the sixth fret
When a chord shape is higher on the neck, a chart may label its starting position as 6fr, 7fr, or a Roman numeral such as VI. The label replaces the nut: with 6fr, the top displayed space is fret 6, then the next spaces are frets 7, 8, and 9.
Do not count from the nut as though the grid were an open-position chart when a position label appears. The dots are still read left to right across the same guitar strings, but their fret numbers start at the printed position.
Left-handed diagrams must state their orientation before you copy them
Most chord books print the standard low-E-left grid for everyone, including left-handed players. Some left-handed resources mirror the picture, which places low E on the right; copy a mirrored grid as though you were looking at a left-handed guitar, not a standard chart.
Before placing fingers, find the low E label or compare the X and O marks with the string order. I would not assume that a left-handed-looking image is mirrored just because a player in a photo is left-handed.
A capo changes the pitch without changing the charted shape
A capo raises the pitch of every open string by clamping across the fretboard. If a song says to use a capo and shows a G chord diagram, make the G shape relative to the capo unless the chart explicitly names concert-pitch chords instead.
The diagram still shows your finger placement; the capo acts like a new movable nut. Read the song notes carefully because some charts list the shapes to play, while others list the sounding chords.
Strum arrows show direction, not another chord shape
When arrows appear near a chord chart, a downward arrow normally means a down-strum and an upward arrow means an up-strum. They describe pick or hand motion, whereas a chord box describes fretting-hand placement.
Some charts also use slashes, beat counts, or measures to show rhythm and chord duration. If those marks are absent, listen to a recording, read the notation, or use the song’s stated progression rather than inventing a bar length from the diagram alone.
Warning: A standard chord diagram assumes standard tuning unless the source says otherwise. In drop D, open G, or another altered tuning, the same drawn shape can produce different notes, so check the tuning before you compare it with a familiar chord.
You can play any unfamiliar chord by placing, testing, and correcting it
Use this short routine when you meet a new chord shape. It turns diagram reading into a physical check instead of a guess made during a full strum.
Say the chord name and scan for a position label, a barre, and every X or O.
Set the lowest numbered finger first, unless a barre must go down first.
Place the remaining dots one at a time, keeping fingertips curved.
Pick from low E to high E, skipping every X, and listen for buzzes or dull notes.
Move a single finger, retest the affected string, and only then strum the full allowed set.
Clean notes come from placement before force. If a note buzzes, move the fingertip nearer the fret wire, straighten the wrist only as much as needed, and check whether another finger is touching the string.
A four-minute practice loop builds chord-diagram reading speed
Choose two familiar open chords, such as C and G, and one new chord shape. Spend the first minute reading the symbols aloud, the second minute forming the new shape and picking its strings, the third minute changing from a familiar chord into it, and the fourth minute returning without looking away from the diagram.
Then repeat with the diagram hidden for one attempt. If the chord fails, uncover the chart and locate the mismatch instead of restarting from the beginning; this makes the grid a reference you can gradually outgrow.
Different diagrams can be correct versions of the same chord
A chord can be played in several places and with several combinations of strings. One C chord diagram may be an open chord, another may be a barre shape farther up the neck, and another may leave out notes to fit a musical part.
Compare the chord name, position label, X and O marks, and dots before deciding that two charts disagree. Choose the version that fits the song, your current technique, and the chord change that comes next.
Four basic open shapes give you a useful first reading test
C, G, D, and E minor are common starting shapes because they combine open strings, fretted dots, and different string ranges. Read each chart slowly, name the string order, and notice that the X and O marks are part of the chord rather than decoration.
There is no single forbidden chord on a guitar. Some shapes are difficult or awkward at first, especially full barres, but the right response is to simplify the task, verify the diagram, and build the shape piece by piece.
FAQs
How do beginners read a guitar chord diagram?
Beginners should read from the top down: identify the chord name and nut, match the six vertical lines from low E to high E, check X and O marks, place every dot, then pick each allowed string before strumming.
What do the dots mean on a chord diagram?
Dots show the note you must fret. Their left-to-right position identifies the string, their vertical position identifies the fret, and a number in or near a dot tells you which fretting-hand finger to use.
What do X and O mean on guitar chord charts?
An O means play that string open, with no finger pressing it. An X means do not let that string sound; skip it when strumming or mute it lightly.
Which finger goes where on a guitar chord diagram?
The usual numbers are 1 for index, 2 for middle, 3 for ring, and 4 for pinky. Follow those labels when present, but a different fingering can be valid if it makes a clean chord and a practical next change.
How do you read chords above the fifth fret?
Look for a position label such as 6fr or VI. It means the top space in the chart is fret 6, not fret 1, and each space below advances by one fret.
You can read a chord diagram by using the same check every time
How to read a chord diagram comes down to a repeatable order: orient the six strings, find the nut or position label, follow X and O marks, place the dots with the suggested fingers, and test each permitted string. Use that order on one new chord today, then connect it to a familiar chord in a slow progression.
The diagram is not a test of memory. It is a map, and the more often you read the map before you strum, the faster your hands will recognize new chord shapes.