
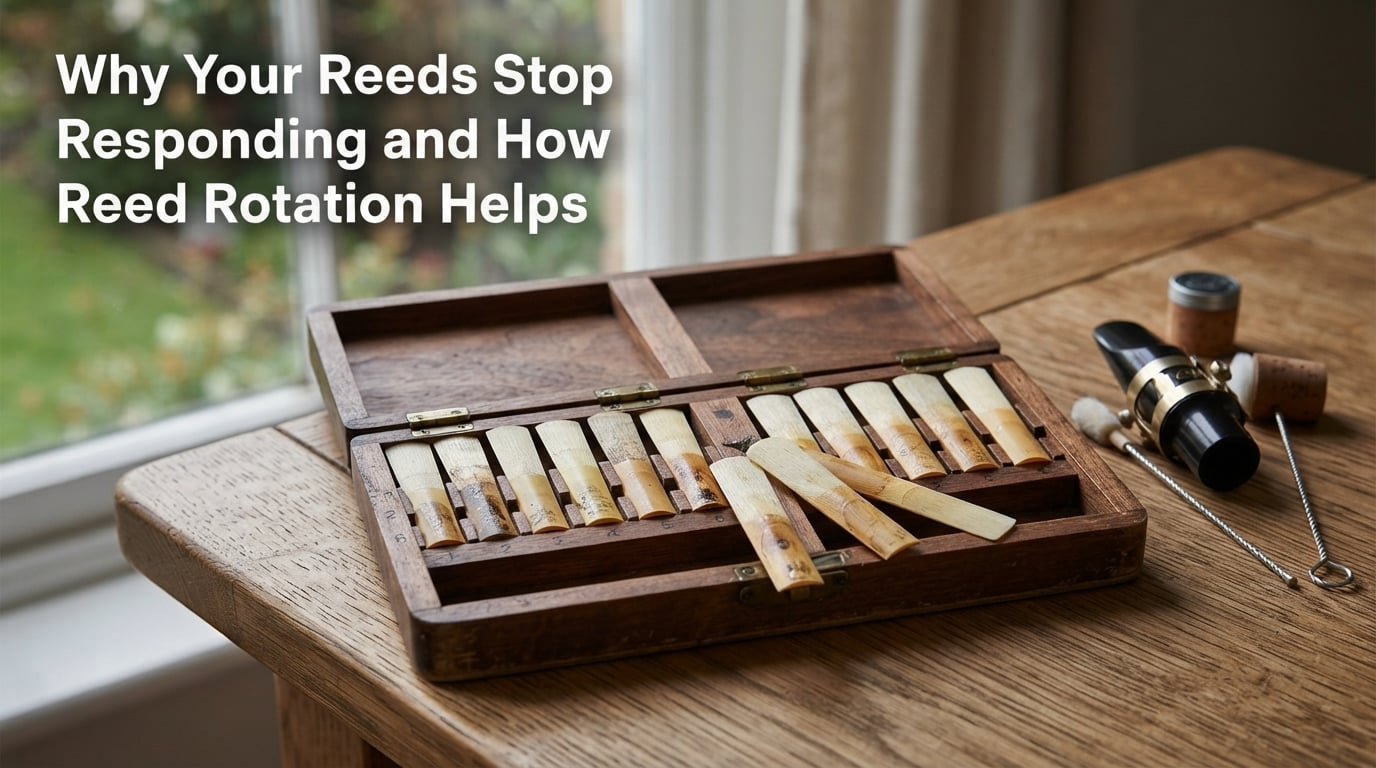
Reeds stop responding when they absorb too much moisture during playing, which swells and softens the cane fibers until the reed can no longer vibrate freely against the mouthpiece. This waterlogging, combined with gradual physical wear, is the single most common reason a reed that played beautifully yesterday feels dead today. The fix is not a better reed brand or a harder strength. It is reed rotation, the practice of cycling between several reeds so each one gets enough drying time to recover its structure between sessions.
If you have ever grabbed your instrument for a quick practice session and struggled to get a clean note from a reed that worked fine the day before, this guide breaks down exactly what is happening inside that piece of cane and how a simple rotation system can keep your reeds playing longer.
Table of Contents
Why Your Reeds Stop Responding?: The Science of Moisture Damage
Your reeds stop responding because of what happens at the microscopic level of the cane every time you play. Reeds are cut from Arundo donax, a giant reed cane packed with natural plant fibers and tiny vascular channels that run lengthwise through the material. When you blow warm, moist air across the reed, those channels act like sponges.
During the first few minutes of playing, a reed absorbs moisture quickly and this is normal. The cane swells slightly, the tip settles against the mouthpiece, and the reed reaches a stable playing state. The problem starts when that moisture stays in the cane too long or accumulates across multiple sessions without enough drying time between them.
Excessive moisture softens the cane fibers at the tip, which is the thinnest and most critical part of the reed for vibration. When the tip loses its stiffness, it closes against the mouthpiece facing instead of vibrating open and closed. You feel this as resistance, a thin or airy sound, or a reed that simply refuses to speak. This is what players mean when they say a reed feels waterlogged.
Repeated wetting without proper drying also causes the cane to warp. The flat back of the reed, called the table, is supposed to sit flush against the mouthpiece. When moisture causes uneven swelling, gaps form between the reed and the mouthpiece, and air leaks destroy your response and tone. Warping is why even a reed that felt great can suddenly seem unplayable.
Beyond moisture, normal playing wear takes a toll. Every vibration flexes the tip thousands of times per second. Over days and weeks, the fibers at the tip fatigue, crack, and eventually break down. The reed gets softer, less consistent, and harder to control, no matter how well you care for it.
What Is Reed Rotation and Why Does It Matter?
Reed rotation is the practice of owning multiple reeds and cycling through them in a set order instead of playing the same reed every day. Think of it like rotating pairs of shoes. If you wear the same shoes day after day, the padding never gets a chance to decompress and the materials break down faster. Rotate between three or four pairs and each one lasts significantly longer.
The same principle applies to cane reeds. When you play a reed, you load it with moisture and flex its fibers. When you set it aside to dry, the cane slowly releases that moisture and the fibers relax back toward their resting state. A reed that gets 24 to 48 hours of drying time between sessions recovers far better than one that gets played again while still damp from yesterday.
Rotation matters because it gives each reed that recovery window. Instead of burning through a single reed in a week, you spread the playing hours across several reeds. Each one experiences less cumulative stress per day, dries more completely between uses, and stays playable for weeks or months instead of days.
How Reed Rotation Extends Reed Life?
Reed rotation extends reed life by giving cane enough drying time to return close to its original shape and stiffness before it gets played again. The key factor is recovery time, the hours or days a reed sits unused and dries out.
When a reed dries fully between sessions, several good things happen. The cane fibers regain their natural stiffness rather than staying soft and waterlogged. The tip returns closer to its original thickness profile, so vibration stays clean and responsive. The table flattens back out, reducing warping and air leaks against the mouthpiece.
From my own experience and from what experienced players consistently report in forums, a single reed played every day with no rotation typically lasts about one to two weeks before it becomes noticeably inconsistent. That same reed, played as part of a rotation of four to five reeds, can last four to six weeks or longer. Forum players note that an average reed lasts roughly six weeks with one hour of daily practice when part of a rotation.
The math is simple. Four reeds in rotation do not just give you four times the playing time before you need to buy a new box. Each reed also lasts longer individually because it experiences less daily stress. You save money and you always have a backup that is already broken in and ready to play.
Rotation also gives you consistency across performances and practice sessions. Instead of depending on one reed that might be having an off day, you always have several options at different stages of their life cycle. When one reed starts to fade, you simply move to the next one in your rotation without scrambling to break in something new.
Signs Your Reed Is Dying vs Truly Dead
Knowing the difference between a dying reed and a dead reed saves you from throwing away reeds that still have life in them. A dying reed can often be revived with drying time or a quick adjustment. A dead reed is finished and needs replacing.
A dying reed shows these signs: it feels softer than usual, the sound gets thin or buzzy, the low notes are hard to start, and the response feels sluggish especially after a long playing session. These symptoms often mean the reed is waterlogged and needs drying time, not a trip to the trash.
Set a dying reed aside for 48 hours and test it again. If the response comes back, it was just moisture logged. If the symptoms persist after a full drying period, the reed may be wearing out but could still serve as a practice reed for a while longer.
A dead reed shows these unmistakable signs: the tip is visibly chipped, split, or cracked, the cane has dark mold spots or a permanent warp you can see by placing the reed on a flat surface, the reed feels dramatically softer than its labeled strength and will not respond even after full drying, or you can see light gaps between the reed table and a flat surface when you press it down.
Dead reeds cannot be revived. The cane fibers are physically broken or the structure is permanently deformed. Replace them and move on.
Step-by-Step Reed Rotation Method
Setting up a reed rotation system takes about ten minutes and a pack of reeds. Here is the method our team recommends for clarinet and saxophone players at any level.
Step 1: Start with at least four to five reeds. Buy a full box of ten reeds and set aside four to five for your active rotation. Keep the rest as replacements for when a rotation reed dies. Beginners can start with three, but four to five gives each reed enough drying time for the best results.
Step 2: Break in each reed gradually. Play a new reed for just five to ten minutes the first day, then set it aside. Gradually increase playing time over the first week. This break-in process lets the cane adjust to moisture slowly instead of swelling all at once, which dramatically reduces warping and early failure.
Step 3: Label or number your reeds. Use a pencil to write numbers on the back of each reed, or use a reed case with labeled slots. This keeps your rotation order clear so you never accidentally play the same reed two days in a row.
Step 4: Rotate in a fixed order. Play reed number one on Monday, reed number two on Tuesday, and so on through your rotation. When you reach the last reed, start over at number one. By the time you cycle back, each reed has had three to four full days to dry.
Step 5: Store reeds properly between sessions. Use a reed case that allows some airflow but protects reeds from rapid humidity changes. Avoid leaving reeds on the mouthpiece or in plastic sleeves where moisture gets trapped. A stable, dry environment helps the cane recover evenly.
Step 6: Track performance over time. Keep a simple note of which reeds are playing well and which are fading. When a reed consistently underperforms after full drying, retire it from the rotation and break in a new one from your reserve supply.
Quick Reed Revival Techniques for Emergencies
Sometimes you need a reed to work right now and you do not have a fresh one ready. A few quick techniques can temporarily revive a sluggish reed, though these are short-term fixes, not substitutes for proper rotation.
If a reed feels waterlogged mid-session, take it off the mouthpiece and blot it gently between a paper towel or clean cloth. Let it air dry for five to ten minutes while you switch to a backup reed. This removes excess surface moisture and can restore enough stiffness for the reed to respond again.
For a reed that has warped slightly, placing it flat-side down on a piece of glass or a flat surface with a little weight on top overnight can help flatten the table. Some players use a reed revival plate designed for this purpose. This will not fix a truly dead reed, but it can extend the life of one that is still structurally sound.
Environmental Factors That Affect Reed Life
Humidity and temperature have a bigger impact on your reeds than most players realize. Cane is a natural material that absorbs and releases moisture based on the air around it, which means your practice environment directly affects how your reeds behave.
In very dry conditions, reeds can dry too quickly between sessions and become brittle or prone to cracking. In high humidity environments, reeds never fully dry out, which accelerates waterlogging and can lead to mold growth. Players in humid climates report moldy or warped reeds as a recurring frustration.
Rapid temperature changes are equally damaging. Moving a reed from a cold car into a warm rehearsal room causes condensation inside the cane, which leads to uneven swelling and warping. Let your instrument and reeds acclimate to room temperature for fifteen minutes before playing whenever possible.
The best strategy is consistency. Store your reeds in a case that buffers against sudden humidity swings, keep them away from direct heat or air conditioning vents, and aim for a moderate, stable environment wherever you practice.
FAQs
Why do reeds stop working?
Reeds stop working primarily because they absorb too much moisture during playing, which softens the cane fibers at the tip and prevents proper vibration against the mouthpiece. This condition, called waterlogging, combined with normal fiber fatigue from repeated vibration, causes the reed to lose response, produce a thin sound, or fail to speak at all. Giving reeds adequate drying time between sessions prevents most of these failures.
How often should you rotate reeds?
You should rotate to a different reed every practice session, typically once per day. With four to five reeds in rotation, each reed gets three to four full days of drying time before you play it again, which is enough for the cane to recover its structure and stiffness between uses.
How to tell if a reed is waterlogged?
A waterlogged reed feels softer than usual, produces a thin or buzzy sound, struggles to start low notes, and feels sluggish in its response, especially after a long playing session. If these symptoms improve after the reed dries for 24 to 48 hours, the reed was waterlogged rather than worn out.
How to revive a dead reed?
A truly dead reed with a cracked tip, permanent warp, or broken cane fibers cannot be revived and should be replaced. However, a reed that is only waterlogged can often be revived by blotting excess moisture with a clean cloth and letting it dry fully for 24 to 48 hours before testing it again.
How many reeds should you keep in rotation?
Most teachers and experienced players recommend keeping four to five reeds in active rotation. Beginners can start with three. This gives each reed enough drying time between sessions and ensures you always have a backup that is already broken in when a reed starts to fade.
Conclusion
Understanding why your reeds stop responding comes down to moisture, fiber fatigue, and the cane’s need for recovery time. Reed rotation solves all three problems by giving each reed the drying window it needs to regain stiffness and stability between sessions. A simple system of four to five labeled reeds, rotated daily and stored properly, can multiply the life of your reeds and keep your sound consistent from practice to performance. Start your rotation today and you will notice the difference within a week.