
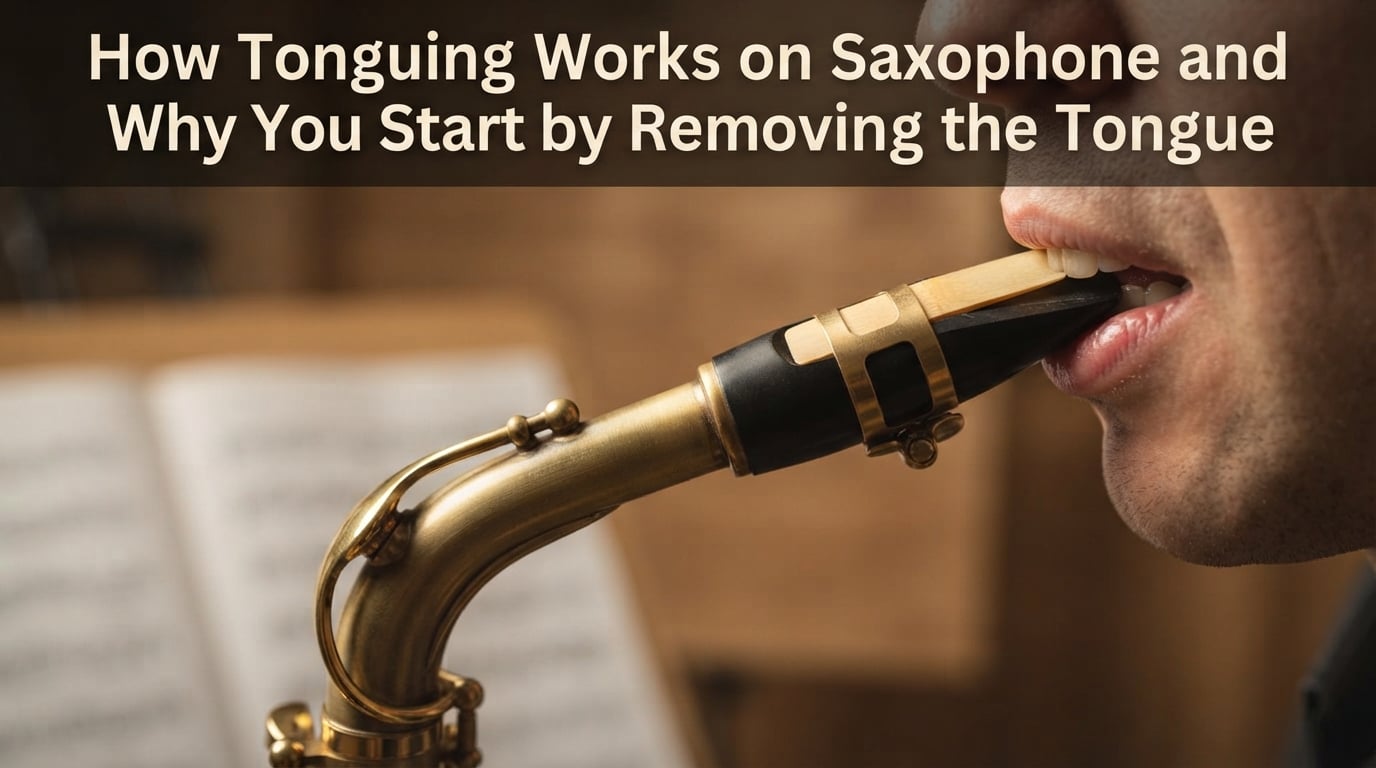
If you’ve ever wondered how tonguing works on saxophone, here’s the part most beginners get backwards: you don’t start the note with your tongue. The note actually begins the moment you remove your tongue from the reed.
That small shift in thinking changes everything about how you practice, how you breathe, and how cleanly your notes attack.
I learned this the hard way. For my first six months playing alto sax, I treated tonguing like a little push, a quick “tah” motion that I assumed squeezed the reed into action.
My attacks were inconsistent, my rhythm felt stiff, and my tongue got tired after ten minutes of practice. Once I understood that the tongue acts as a valve blocking built-up air, my articulation cleaned up almost overnight.
This guide walks through exactly how saxophone tonguing works, why starting with tongue removal is the real secret, and how to build a clean, fast articulation that doesn’t wear out your tongue. Whether you’re picking up the sax for the first time or trying to fix a fuzzy attack, you’ll find a step-by-step breakdown, practice exercises, and answers to the questions players ask most.
Table of Contents
What Tonguing Actually Means on Saxophone?
Tonguing on saxophone is the technique of using your tongue to control when the reed starts and stops vibrating. It gives you precise control over each note’s attack and release.
Many players confuse tonguing with articulation, but they’re related, not identical. Articulation is the broader category covering every way you start, connect, or separate notes, including slurring (no tongue), tonguing, and accent styles.
Tonguing is one specific tool inside that category: the act of using your tongue against the reed to start a note cleanly.
Three LSI terms help frame the topic. Reed vibration is the buzzing that produces sound. Air stream is the steady column of air from your diaphragm. Embouchure is the shape of your mouth on the mouthpiece.
Tonguing lives at the intersection of all three.
The Counterintuitive Truth: You Start a Note by Removing Your Tongue
Here’s the core insight that most tutorials skip: the note starts by the lack of tongue, meaning the moment your tongue leaves the reed, not the moment it touches it.
Think of your tongue as a finger resting on a running garden hose. The water is already under pressure. When you lift your finger, the water escapes.
Your saxophone works the same way. Air pressure builds up behind your closed tongue, held back like a dam.
The instant your tongue releases, the air rushes through the mouthpiece, the reed starts vibrating, and the note speaks.
The tongue never pushes the reed. It simply gets out of the way at the right moment.
This is why the “tah” or “duh” syllable you often hear teachers say isn’t really a tap. It’s a release.
You’re not striking the reed. You’re pulling back from it.
Musician and educator Jamie Anderson of TamingTheSaxophone calls this “the cylinder concept.” Air is a constant stream, and your tongue is a sliding valve that opens and closes access to that stream.
Once you internalize this, three things change. First, your air support becomes more consistent because you stop relying on tongue force.
Second, your attacks get crisper because the reed responds to air, not impact.
Third, your tongue stops hurting, because you stop using it as a hammer.
Air Attack vs Tongue Attack: What’s the Difference?
Saxophonists use two main ways to start a note: an air attack (no tongue at all) and a tongue attack (tongue releases the air). Each has its place, and knowing when to use which one is part of becoming an expressive player.
| Aspect | Air Attack | Tongue Attack |
|---|---|---|
| How it starts | Air begins before any tongue contact | Tongue releases built-up air pressure |
| Sound character | Soft, breathy, gentle | Crisp, defined, rhythmic |
| Best for | Ballads, entrances, soft passages | Most jazz, classical, fast lines |
| Risk | Can sound unfocused | Can sound harsh if forced |
| Tongue position | Rests behind lower teeth | Touches reed briefly, then pulls back |
An air attack is what you do when you want the note to “speak from nothing,” almost like the sound is already floating in the room. You start the air, and the note blooms without any tongue contact at all.
It’s beautiful for slow ballads and certain classical entrances.
A tongue attack is the workhorse of articulation. You build air pressure, anchor the tongue briefly on the reed (often the tip or just behind the tip), then release. The release is the note.
This is what you want for most jazz phrasing, classical articulation, and anything rhythmically active.
Most beginners default to one or the other. I lean tongue attack for 95% of my playing and reserve air attack for specific expressive moments. Your goal should be having both available so you can switch on the fly.
How Tonguing Works Step by Step
Here is the mechanical sequence of a clean tongue attack, optimized for clarity. Practice each step slowly until the motion feels automatic, then speed it up.
Set your embouchure. Form a stable seal around the mouthpiece with even pressure on both sides. Your bottom lip curls slightly over your bottom teeth, your top teeth rest on the mouthpiece, and your corners are firm but not pinched.
Take a full breath. Use your diaphragm, not your chest. Your stomach should push out as you inhale. This loads your air tank for the phrase ahead.
Start the air stream. Begin a steady, focused airstream, like blowing through a straw. Don’t let it explode yet, just establish a calm, pressurized flow.
Place your tongue on the reed. Touch the tip of your tongue (or just behind the tip) lightly to the reed. The contact is gentle, more like a kiss than a stamp. As soon as the tongue lands, air builds up behind it.
Release the tongue to start the note. Pull the tongue back down and away, instantly. This is the attack. The built-up air rushes through, the reed vibrates, and the note speaks.
Maintain the air stream through the note. Keep steady support from your diaphragm throughout the duration. The note should feel like a continuous ribbon of sound, not a pulse.
Stop the note cleanly. Either release the air fully (legato ending) or re-tongue the reed (staccato ending). We’ll cover note endings in detail below.
Notice that step 5 is the moment everything happens. The reed doesn’t vibrate because your tongue hit it. It vibrates because the air that was waiting behind your tongue finally got released.
Practice saying “duh” out loud and feel how the “d” contact is brief and the “uh” vowel is what carries the sound. Your saxophone should feel the same way.
Where Your Tongue Should Sit on the Reed
Tongue placement is one of the most debated topics in saxophone forums. There’s no single right answer, but there is a clearly best starting point for most players.
The tip of your tongue, just behind the tip of the reed, is where you should make contact.
Why the tip and not the middle? Two reasons.
First, the tip gives you faster release, because it’s a smaller, lighter part of the tongue. Second, the tip is closer to the front of the reed where articulation actually begins.
Using the middle of your tongue is a common beginner habit because it feels safer, but it slows you down and produces a softer, less defined attack.
The syllable most teachers recommend is “dah” (rhymes with “spa”) or “tah” (rhymes with “got”). Both work because they activate the tongue tip.
Avoid “lah” (tip too far back) or “nah” (too closed). You should feel a soft, almost silent “tip tap” on the reed, not a slap.
Here’s the placement checklist I use with my students:
Tongue tip rests roughly 1/4 inch behind the reed tip
Contact is light, less than the weight of a postage stamp
Air pressure builds for less than half a second before release
Tongue returns to a neutral position (behind lower teeth) between notes
Your jaw and embouchure don’t move when you tongue
Stopping Notes: The Other Half of Articulation
Tonguing gets all the attention, but how you stop a note matters just as much for clean articulation. A slurred phrase with sloppy endings sounds just as bad as a tongued phrase with fuzzy attacks.
There are three common ways to end a note. The first is the breath release, where you simply stop blowing and let the note fade.
This works in legato passages where the next note follows quickly.
The second is the tongue release, where you place your tongue back on the reed to stop the vibration instantly. This gives you a defined staccato ending.
The third is the accent release, where you slightly increase air pressure at the end and then release. Used sparingly, this adds a punchy emphasis to the final note of a phrase.
Most jazz and classical players use a combination, depending on the style and emotional shape of the line.
One common mistake is stopping a note by cutting off the air entirely. This produces a “chuff” sound, a little puff of breath, that breaks the musical line.
The fix is to either release gradually (legato) or use the tongue cleanly (staccato). Never slam the air shut.
Staccato, Legato, and Soft Tonguing
Once you have a basic tongue attack working, you can shape it into three primary styles. Each one serves a different musical purpose.
Being able to switch between them is what separates a competent player from an expressive one.
Staccato tonguing means short, separated notes. Your tongue touches the reed, releases, and then immediately returns to stop the note.
It’s the most rhythmic style and is essential for jazz heads, classical etudes, and any passage marked with dots above the notes.
Practice with a metronome at 60 BPM, tonguing each quarter note separately.
Legato tonguing is softer and more connected. Your tongue still starts each note, but you don’t stop the air between notes.
The result is a flowing line where each note’s beginning is defined but the sound carries through.
Think of it as a polite whisper between each pitch. Legato is the default for most lyrical passages.
Soft tonguing is the hybrid style. You tongue the note very lightly, almost like an air attack, but with a hint of definition at the start.
It’s perfect for ballads and intimate moments where you want articulation without aggression.
The trick is keeping your air stream strong while your tongue barely brushes the reed.
Common Mistakes When Learning to Tongue
Every saxophonist makes these mistakes early on. Recognizing them is half the battle.
Here’s what I see most often in beginner players and in forum threads on Reddit and CafeSaxophone.
Tongue sticking to the reed. If your reed gets gummy or your tongue feels like it’s dragging, your mouth is too dry or too wet.
Drink a small sip of water, do a few warm-up long tones, and try again. A slightly moist mouth produces the cleanest release.
Raspy or fuzzy attacks. This usually means your air stream isn’t steady when the tongue releases. The reed is vibrating unevenly because air is hitting it in pulses.
Fix: focus on keeping your diaphragm engaged through the release, not just at the start.
Tongue fatigue after short practice sessions. If your tongue hurts, you’re pressing too hard. The tongue should kiss the reed, not punch it.
Try reducing contact pressure by half and see if the sound stays the same. It almost always does.
Embouchure shifting when tonguing. Watch yourself in a mirror. If your jaw moves or your lips tighten every time you tongue, your tongue is doing too much work.
Stabilize your embouchure by holding a “eeee” shape while tonguing. The motion should be purely tongue, nothing else.
Inconsistent articulation. If some notes start cleanly and others don’t, your air pressure probably varies.
Place your tongue, breathe in, and then check that your stomach is still engaged before you release. A weak diaphragm produces a weak attack.
Fear of double tonguing. Many students hear about double tonguing and assume they’ll never get there.
Don’t worry about it yet. Master single tonguing cleanly first, and double tonguing will follow naturally in a few months.
How to Practice Tonguing on Saxophone
Practice is where good tonguing actually happens. The exercises below are what I use with my own students, structured to build clean technique before speed.
Don’t rush through them.
Exercise 1: The Slow Release. Set your embouchure, take a breath, place your tongue on the reed, hold for two full seconds, then release.
Don’t play a note yet, just feel the air pressure building. Repeat ten times.
This trains your muscle memory for the dam-and-release mechanic.
Exercise 2: One-Note Tonguing. Pick a comfortable mid-range note like a low C or D.
Tongue it, hold for one beat at 60 BPM, stop with your tongue, breathe, repeat. Do this for two minutes straight.
Focus on identical attacks every time. If they vary, slow down.
Exercise 3: Scale Articulation. Play a one-octave major scale, tonguing each note separately at 60 BPM.
Then play it slurred (no tongue). Then play it staccato.
Then alternate: tongue, slur, tongue, slur. This builds flexibility between styles.
Exercise 4: Metronome Speed Building. Tongue repeated notes (C, C, C, C) at quarter note = 60.
When that feels effortless, move to 70. Then 80. Then 90.
Don’t jump by more than 10 BPM at a time.
Most beginners hit a wall around 100-120 BPM, which is normal. Stay there for a week before pushing further.
Exercise 5: Endurance Training. Tongue simple patterns for five minutes straight without stopping.
If your tongue fatigues, you’re pressing too hard. Reduce contact and try again.
Build up to 15 minutes of consistent tonguing over a few weeks.
Endurance and fatigue prevention. Your tongue is a muscle, and like any muscle it can be trained.
The key is consistency over intensity. Fifteen minutes of focused tonguing daily will build more skill than two hours of sloppy practice once a week.
If you feel sharp pain, stop. Soreness after practice is fine; pain during practice is not.
The psychological side. Many players tense up when tonguing because they’re afraid of making mistakes.
That tension travels straight to your tongue. Before each practice session, take three slow breaths and remind yourself that a fuzzy note is just information, not failure.
Relaxed tongue, clean attack.
FAQs
How do you tongue properly on saxophone?
To tongue properly on saxophone, set a stable embouchure, take a full diaphragmatic breath, start a steady air stream, place the tip of your tongue lightly on the reed just behind the reed tip, build a brief moment of air pressure, then release the tongue to start the note. Keep your air stream consistent through the note and stop the note either by releasing the air (legato) or re-tonguing the reed (staccato). The note actually starts when you REMOVE the tongue, not when you add it.
Can you double tongue on a saxophone?
Yes, you can double tongue on a saxophone, and it’s commonly used for fast passages where single tonguing is too slow. The technique alternates two syllables, usually u0022tah-kehu0022 or u0022tah-gah,u0022 so that one note is articulated with the tongue tip (tah) and the next with the back of the tongue or a soft palate u0022ku0022 (keh). Double tonguing requires solid single tonguing first and consistent air pressure throughout. Most beginners should master single tonguing for several months before attempting double tonguing.
How do I get faster at tonguing alto sax?
To get faster at tonguing alto sax, build a strong single tonguing foundation first by practicing repeated notes with a metronome starting at 60 BPM and increasing by 5-10 BPM per week. Use light tongue contact (the tip, not the middle), maintain steady diaphragm support, and keep your embouchure stable. When you hit a speed plateau, slow back down by 10 BPM and focus on clean, identical attacks before pushing faster again. Consistency and relaxation matter more than raw speed.
Why does my saxophone sound raspy when I tongue?
Your saxophone sounds raspy when tonguing because your air stream is unsteady at the moment of release. The reed is being hit by bursts of air rather than a smooth column, which produces uneven vibration. Fix this by engaging your diaphragm support right before the release, keeping your tongue contact brief and light, and making sure the air is already flowing well before the tongue leaves the reed. Practicing air attacks alone also helps you develop steadier support.
Final Thoughts on How Tonguing Works on Saxophone
How tonguing works on saxophone comes down to one elegant idea: the tongue is a valve, not a hammer. Air is the engine, the reed is the speaker, and your tongue simply opens and closes access at the right moment.
Once you practice from that perspective, every articulation problem becomes a problem you can solve.
Start with the slow-release exercise, keep your air stream strong, and trust the release. Within a few weeks, your tonguing will feel lighter, your attacks will be crisper, and your tongue will stop aching after practice.
That’s the moment you know the technique has clicked.